Showing posts with label tips tools and techniques. Show all posts

Tuesday, December 21, 2010

Tips, Tools and Techniques Tuesday!


Merry Christmas everyone!  It's hard to believe that the holidays are here already AND in a little over a week this whole year will be over.  This has been a wonderful year for me professionally and I am very grateful.

This week I am going to show you a fun and easy staining technique with Tim Holtz's Adirondack Color Wash.  It is a great method for making background papers.  


There are a lot of fun uses for the Color Wash inks.  Today I am just going to show you one of those.  You will need a few things to do this process yourself.  Those supplies are:
  1. Tim Holtz's Adirondack Color Wash
  2. Water color paper
  3. Freezer paper or another non porous work surface
  4. Paper Towels
  5. Windex


Tim Holtz's Adriondack Color Wash

Since this technique involves introducing a lot of moisture to paper you are going to want to choose a paper that can stand up to that.  I like to use watercolor paper.  I used these small post card size that I will later stamp on and layer onto the front of a card.

Before I get started, I cover my work surface with freezer paper, which you can find right in the grocery store.  You'll want to make sure that you have the shiny side up as that will be your palette.  It is the perfect palette because when you are done with your first set of color, you can just wipe it right up and start all over.

After you've covered your surface, choose between 2 and 3 colors to create your design.  Spray them right onto the freezer paper.
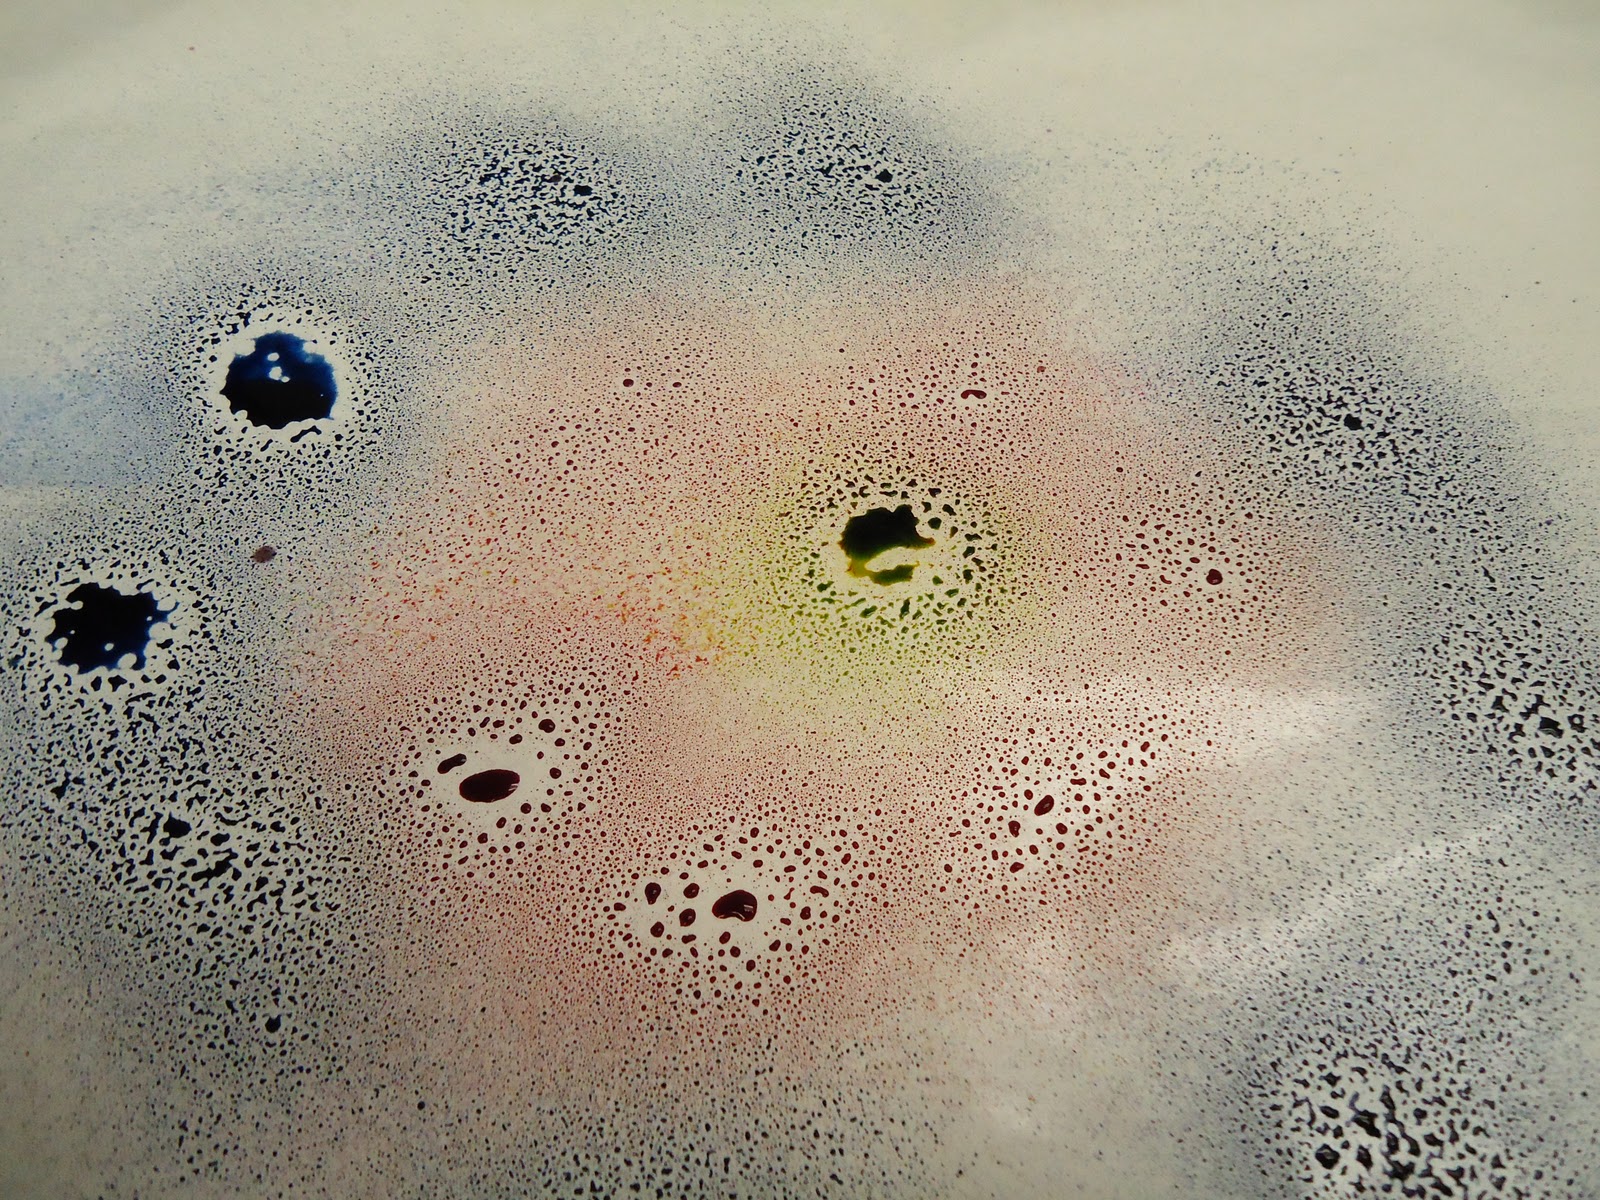


I tried this technique with water and it will work.  However, I discovered that the colors really pop if you spray some Windex onto it.  Then it looks like this...


Then you take your paper and press it down into the mixture.  Tap the paper to make sure that the whole surface gets covered.  Don't worry...the curling that occurs is normal.   It will straighten out some as it dries and then pressing it under some heavy books will take it the rest of the way.


Pull it up and lay it into a clean area of your palette.  It is going to drip, so be careful.


Take some paper towel and blot!  Don't rub, just blot it to get the excess water off.


You can get some really pretty marbling using this technique.  And, come on, messy is fun!

I am going to try to post one more time before the weekend...but if not.  Have a happy and healthy holiday!!

Artfully yours,
Theresa


Tuesday, December 14, 2010

Tips, Tools and Techniques Tuesday!


Happy Tuesday to you all!  This weeks post is going to be short and sweet.  It's the holidays and who has the time to read my long banter!?  :)

This week's tip is very simple...it's about scissors!  I don't care if they are your everyday average scissors, pinking shears or rotary cutters...those things are expensive.  As with all crafting supplies, to get the most bang for your buck, you have to take care of them properly.


 If you are like me, you have about a hundred pairs of scissors.  Also, if you are like me, there is nothing more frustrating than a dull pair of scissors!  I remember when I was a little girl, there was a man that came around in a truck (just like the ice cream man!) and would sharpen scissors and knives for the locals.  Sadly, that doesn't exist anymore.  :(  I can't say I'm surprised in this day and age...I mean, who wants people coming out them with sharp objects!!

A few years back I received this piece of advice.  I'd like to pass it on to you.  It won't sharpen your tools, but it will help you get the most life out of them.  The advice is simple....DESIGNATE YOUR SCISSORS!  Simply put, scissors for paper should be used for paper only, metal for metal...fabric for fabric, etc.!  Don't interchange them.  Paper dulls scissors and if you try to use those scissors on fabric after a while, you'll find that they just don't cut crisply anymore.  OH...before I forget....please, please...if you designate only one pair of scissors, make sure you designate one pair for cutting things that are sticky like foam tape.  It doesn't matter how much Goo Gone I use on a pair of scissors that I was cutting sticky stuff with, they are just never the same.

I just want to remind everyone that this Thursday is going to be the LAST week of Sizzix Triple Play Blog Hop.  It just went so fast.  So, don't miss it this week.  It will be a very special day.

Artfully yours,
Theresa


Wednesday, December 8, 2010

Tips, Tools and Techniques Tuesday!


Today, I am going to introduce to you another really great product! It is called a blender pen. A blender pen is a special pen that is filled with a clear blending solution. There are several brands out there, but my personal favorite is the Dove Blender. There is just something about the blending solution in this particular pen that I prefer.


If you go right to the Dove Blender site, you will see that you can not only get the pens, but replacement nibs as well as extra solution. As with any tool, in order to get the most success out of it, you need to make sure that you take proper care. If you just want to give it a try, you can get a starter kit with comes with a pen, a small bottle of blending fluid as well as 3 new nibs. Believe me, you'll love this product. Would I steer you wrong??


Since you now know where to get one, it's probably a good idea that I give you some of the whys and hows. Here is a list of reasons why I personally enjoy using a blender pen:

  1. Blender pens allow me to use products that I already have in new and unique ways...such as watercolor pencils, water based ink pads and markers
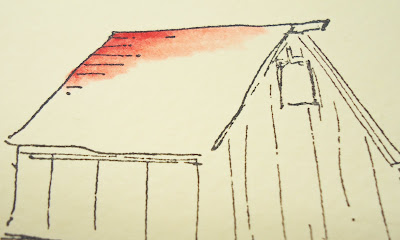
  2. I am able to achieve a watercolor look (as you can see in the image above) without using water. (What's the big deal about water?? Well, for one, depending on how much is introduced to the paper you are using it can cause it to curl or peel. Then there are papers that don't lend themselves to traditional watercolor at all, such as gloss coated cardstock.)
  3. Blender pens work on several surfaces and it takes the guess work out of paper type. They work on cardnstock, watercolor paper, copy paper, vellum, wood...and more!
  4. I have more control when it comes to using dark color markers.
Those are just a few of the reasons! Another cool thing about a blender pen is that you really only need one pen! When you are finished with a color, just make little x marks or roll the tip across a scrap piece of paper and the original color will come right out. Keep in mind that certain pigments (such as purples and reds) will stain the tip but the fluid will still come out clear. Then, when that tip gets all icky and gross, pull it out and toss in a new one.

Now here are some ways that I use my blender pen:
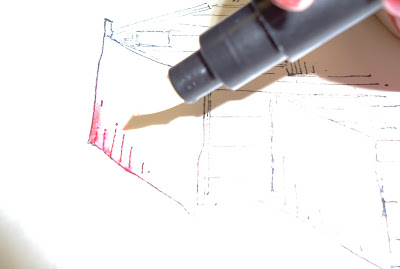
  • Watercolor pencils: starting with your lightest color working to your darkest , color in your image without going all the way to the edges. use the blender pen to blend the colors together and move the color out to the edges
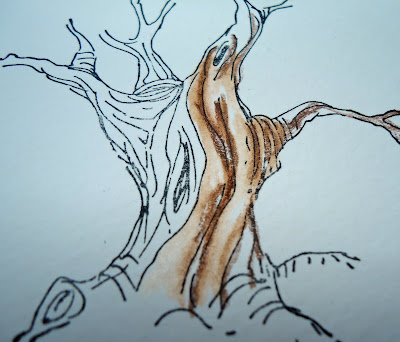
  • Watercolor pencils: as shown below, use the pencil to trace over all the detail lines, then pull the color out to the rest of the image

With the following techniques, you want to pay close attention to how dark or light you want your color to be. You can always make the color darker, but you cannot take the color away once it's there.
  • Water based stamp pads: lightly brush the tip of the blender pen onto the pad and then color your image by starting where you want the color to be more concentrated...then work from that point out every time you add color to your pen. As you pull the color out from your starting point, it will get lighter.
  • Water based markers: use the same technique as above, except touch pen tip to pen tip. You can also use a palette if you want. I either use the information side of an old CD (believe it or not, I have a bunch of the old AOL CDs that they used to send in the mail!) or a glossy ceramic tile. Just draw onto the palette with your marker and pick the color up on your blender pen from there. When you're done, you can just wipe the palette clean with a damp paper towel and save for reuse!


Do you use blender pens? I am sure everyone would like to know how you use yours! I'd love to hear your comments about blender pen techniques!

Don't forget...Thursday is week 6 of the Sizzix Triple Play Blog Hop. Check back in...I wouldn't want you to miss it!

Artfully yours,
Theresa


Tuesday, November 30, 2010

Tips, Tools and Techniques Tuesday!


Hi everyone! Welcome to a brand new week. I hope you have all recovered from your Turkey induced comas and that you are basking in the glory of your leftovers! Come on now...I know it's Tuesday, but you till have leftover turkey...I know it!

As I promised, I am back to work this week and back on my blog. I'm glad to get back in the swing of things too!


This week I have another really great tool to share with you. These are stipple brushes. A stipple brush is an artistic tool used to add texture or shading. I use them constantly. As a matter of fact, if you have been following the Sizzix Triple Play Blog Hop and seen any of my posts from that, I have used my stipple brushes on the last two projects:

Stipple brushes can be used for a myriad of things. I can add texture by pouncing my brush straight up and down or I can sweep it from the edge of the paper towards the inside to give a project depth. I have made really great back grounds for beach pages and I have used them to antique handmade books and other projects. I have used them with stencils...getting both the positive and negative images.

Mostly, I use my stipple brushes with stamp pads or reinkers. I like the effects I can get. I keep a brush for each color family. You can also use stipple brushes with paints, but you will want to make sure that you wash your brushes thoroughly and let them dry completely after.

If you don't have any, you should really get a couple and play with 'em. It is a lot of fun.

Artfully yours,
Theresa


Sunday, November 14, 2010

Tips, Tools and Techniques Tuesday!


Happy Tuesday everyone! Welcome to this week's installment of Tips, Tools and Techniques. This week I am going to share with you one of my very favorite and one of my most cool tools!


If you're wondering what in the heck that thing is pictured above...allow me to introduce you! This is a Japanese Push Drill (sometimes referred to as a Screw Punch) and it's purpose is to punch holes. If you don't have one, I cannot recommend it strongly enough. If you are someone who uses a lot of eyelets and brads, this is a must have tool! Now you might be saying to yourself...I already have hole punches, I don't need anymore. Well this, my crafty friends, is different.

With your average hole punches, you are limited. You can only punch a hole as far into the paper as your tool will let you, which isn't very far! Yes, there are long reach punches, but most of them won't reach into the center of a 12x12 piece of card stock. There are those really great eyelet setter kits that you have to use with a hammer, but they are noisy and everything around you shakes while you're banging the tool with your hammer! Which means a few things... first, it really isn't convenient at 2 am (you know you do it!) and second, if you are at a crop, you're table mates will get irritated quickly.

There are several benefits to adding a Japanese Push Drill to your arsenal of tools. A Japanese Push drill:
  • will punch holes anywhere
  • has assorted bits in a variety of hole sizes
  • is easy to use
  • doesn't hurt your hand
  • eliminates the need to own several punches
  • is quiet and not intrusive
  • will punch through a variety of surfaces INCLUDING (but not limited to) paper, fabric and mat board (which really comes in handy if you like to make your own books)
Allow me to give you a really quick demo:


Please....Please....be sure that you have a self healing cutting mat when using this tool. Just as you would use one with an Xacto knife, you need to protect your work surface.


Look carefully at the picture above. Down near the tip of the punch, you'll see that there is a piece that has those sort of ridges. That piece unscrews and loosens so that you can put the bits in and take them out. Once you've put a bit in and tighten it up, you're good to go.

You want to make sure that you place the punch perfectly straight up and down. The punch should be at a 90 degree angle to your work surface. You don't want the punch to be at an angle or what will happen is you will only punch one side of the hole.


Then you want to push straight down. This is all you have to do most of the time. However, if you are punching through thick card stock, mat board or multiple pieces of paper give the punch a twist while it is fully collapsed. This ensures that the punch goes all the way through.


Release the punch and it will fully extend. When you remove it from the paper or whatever you're punching, you will have a nice clean hole.

Japanese Push Drills are not difficult to find in this age of the internet. You can do a Google search or hit eBay. I recommend, however, Talas. Talas is a great resource if you are a book maker or paper artist of any kind.

Artfully yours!
Theresa
Related Posts Plugin for WordPress, Blogger...