Showing posts with label altered. Show all posts

Monday, November 22, 2010

My Favorites Friday: ATCs


Happy Friday! I hope this post finds everyone well and gearing up for a fun and exciting weekend. The weekends always seem to fly by so fast. This week I want to share with you one of my favorite art forms...Artist Trading Cards or more affectionately known as ATCs.


What is an ATC? An Artist Trading Card is similar to Baseball Cards. ATCs are miniature works of art. There is really only one strict rule to creating an ATC...size! All ATCs measure 2.5" x 3.5" in size. After that, you are only limited to your imagination.

The ATC above was created using scrap book paper, dye ink, rubber stamps and a miniature tag. It is a mini collage that incorporates several elements. It has many layers which gives it a texture. You can be as simple or elaborate as you wish.


You can purchase blank ATCs just about anywhere. Dick Blick is a very popular site for purchasing such materials. However, you can use simple playing cards or you can cut your own. I like to use card stock or old post cards...as is used in the sample above. I have even created them out of fabric, but I usually use some type of one sided fusible interfacing to give them a little more stability.


On this ATC I punched the image into the top layer of paper. I used gold pigment ink around the edges and image to make them stand out.


This ATC incorporates a decorative brad and a slide. I don't generally worry about things sticking off the edge of the card. I trim them later by turning the card over and trimming off the excess with an Xacto knife.

What do you do with an ATC? That's simple! You trade them, of course!! There are all sorts of swap groups out there. As a matter of fact, if you belong to any of the groups that are out there you should check to see if there are any for Artist Trading Cards. I bet they do! There is a really cool site called ATCsforAll that has been around for quite a while. They are constantly running swaps. You should really check out all the swaps they ran so far this year! These guys are obviously passionate about ATCs!!

If your interest is piqued...here is another fantastic site with some outstanding eye candy: Art-e-zine Trading Card Swap. This takes place in the UK...which just goes to show you...ATCs are global!

I hope you enjoyed this little preview on Artist Trading Cards. Whether you create these precious gems already or are going to give it a try...feel free to share! I'd love to see what you are creating. Plus, if I get enough feedback, I'd love to post some pictures of other artists' cards.

Artfully yours,
Theresa

Wednesday, November 17, 2010

SIZZIX TRIPLE PLAY BLOG HOP WEEK 3: MY VINTAGE GARDEN


Welcome back! We are now on Week 3 of Sizzix Triple Play Blog Hop. I had so much fun this week playing with the featured die...which was designed by Brenda Pinnick. So go grab a cup of java and settle in...I have lots of pictures this week!

Let's start with a list of supplies:

Other Supplies:
  • 12x24 stretched cotton canvas
  • Sizzix Sizzlets Die Set # 656539 3PK - Flower Layers #3
  • Tim Holtz Distress Ink: antique linen, tea dye, vintage photo, walnut stain
  • Stipple brushes
  • Make-up sponges
  • Small brads: pale yellow, bright yellow, antique brown
  • Mod Podge: paper and fabric
  • Paper piercing tool
  • Folk Art High Definition Visual Texture by Plaid: sunflower, yellow ochre, forest moss, hauser green medium, thicket
  • Textured stamp
  • Vellum
  • Bazzill papers

I started with a blank canvas. It matters not what size you choose. I selected 12 x 24 because I wanted to have a lot of surface on which to add texture. I did not treat the canvas with Gesso or anything else. I left a completely bare surface.


Then using Tim Holtz's Distress Ink in my fav colors, some makeup sponges and stipple brushes I start to distress the surface of the canvas. I stippled and I sponged...and I even went direct to canvas with my pad. If you are not familiar with the process, you simply rub the surface of the ink pad directly onto the surface where you want the color. **IMPORTANT NOTE: Canvas is a textured surface...so be aware that the stamp pad surface can get a little bit chewed up. I have doubles of all my pads, so I have a set just for this purpose.**

When I distress anything I start with the lightest color and work to my darkest. I also start at the edges and work my way in towards the middle. I use my darkest colors towards the edges.


Brenda was very generous with the amount of blooms she supplied and so I took one of the paper bloom and used it as a stencil. I placed the bloom onto the canvas surface and then stippled some tea dye and vintage photo around the edges of the bloom. It created this effect:


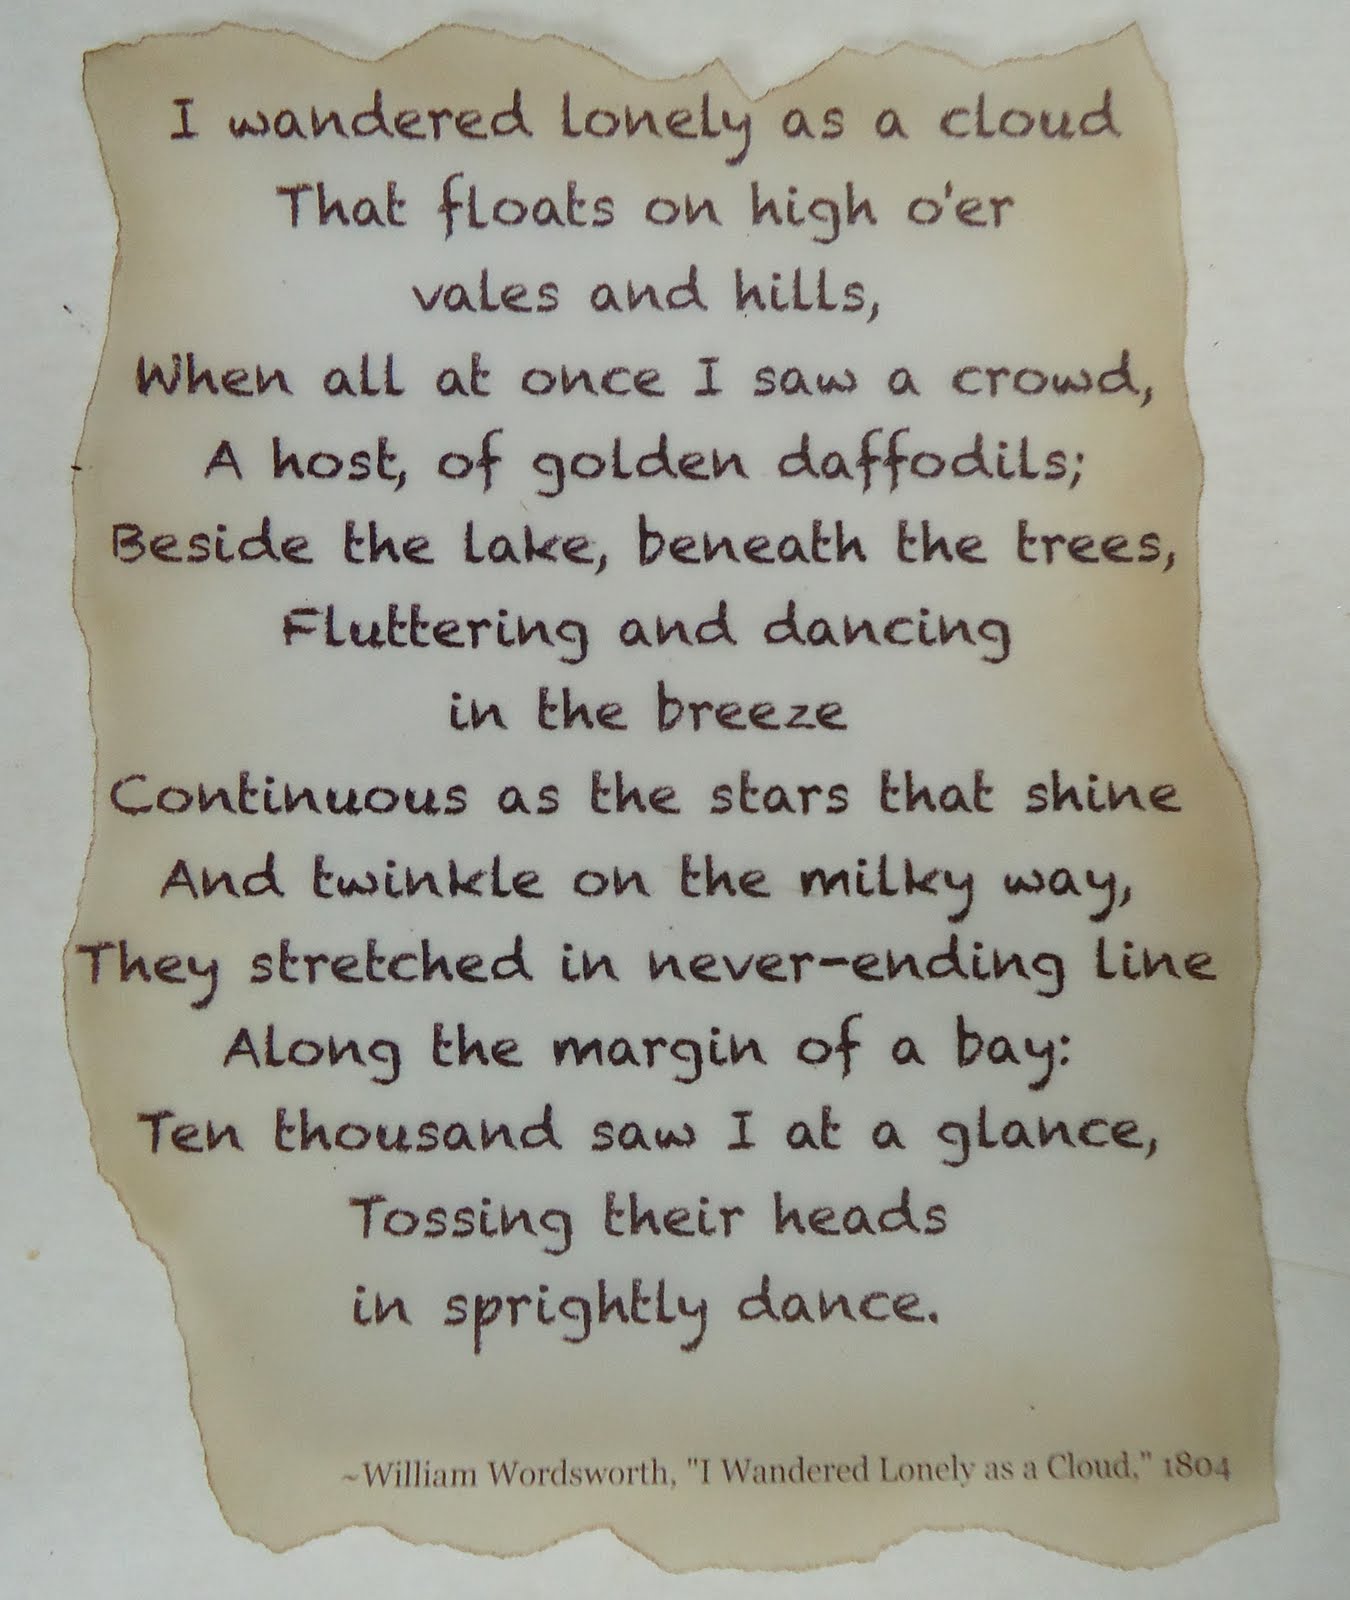
Next, I printed out a poem that I really liked onto vellum. Now I realize the poem refers to daffodils...but I am taking artistic license here! I tore the edges and then I stippled on the BACK side of the vellum one of my lighter color inks, again working from the outside to inside. If you can see in the photo below...I didn't stipple the color over the entire piece of vellum. When you do this technique, the color should be darkest at the edge and gradually lightens as you work towards the middle. Then, I flipped the vellum back to the front and with the next shade darker ink...I stippled just the very edge of the vellum.


Using a very thin coat of Fabric Mod Podge, I adhered the vellum to the canvas. Now don't worry if the vellum resists sticking. What I did is put a book under the canvas, then I placed a piece of wax paper over the vellum and put a couple of heavy books on top of that. I left it for a a while. Once that adhesive is dry, it's on there! **NOTE: always put wax paper or butcher paper between layers that are still wet from glue so that they don't bleed on each other or stick together!


I really love using vellum. Because it is translucent, you can still see the stenciled blooms behind it.


Next, I began to layer the pieces of the blooms together. Brenda sent such a variety that no bloom looks the same! I did stipple some ink onto the paper pieces and some onto the fabrics and felt to mute down the color to go with my vintage theme. Isn't that beautiful!

I cut a few extra blooms with another Sizzix die I had so that I could cover more of my surface and compliment the Brenda's big flower blooms. I altered some of the blooms with the ink and a textured stamp. I assembled the flower layers and pierced the centers with a paper piercer so that I easily slide in the brads.

I used Mod Podge for fabric and for paper to adhere the blooms to the canvas...then I let it dry completely.


Once everything was dry, I started to add some details by doodling some vines and leaves onto the canvas with the Visual Texture by Plaid. I just love that stuff! It adds a lot of dimension. I also added some extra details right onto the flowers!


I was really pleased with how my project came out this week. It is very me! I can't wait to see what everyone else has done...I am sure you feel the same. So, go ahead.....hop forward!

Artfully yours,
Theresa

Wednesday, November 10, 2010

SIZZIX TRIPLE PLAY BLOG HOP WEEK 2: B is for BABY


Hello again! Welcome to Week 2 of the Sizzix Triple Play Blog Hop! This week features Karen Burniston's Twist Cube Die. Lemme tell ya...it is a really fun die to play with because it is interactive. When using the die as originally instructed, it twists and pops up. Very cool effect. I, however, decided to do a little something different with it. Hope you like!

The materials you will first need to get started are:

Sizzix Big Shot cutting machine
Sizzix Accessory - cutting pad, extended
Sizzix Accessory - premium crease pad, extended

Here are some other materials that I used:

ATG Tape Runner
Paper Trimmer
Xacto knife and mat
Family Treasure's Scalloped edged scissors
1/16th" hole punch
PPA
Golden's Fluid Matte Medium
Baby Feet paper, Stemma
Pastel colored card stock, Bazzill
Pale green satin ribbon - 1/8"
Yellow organza ribbon - 3/4"
Plaid's Folk Art Paint in light blue, jamaican sea, lemonade and baby pink
Doodlebug Design Sugar Coating lily white glitter
Stickles
Tissue paper
Candy


Karen and the lovely staff at Sizzix were kind enough to send me a nice neutral color...black. The first thing I did was assemble the box. I am going to be very honest here! I had no idea what I was going to do with it after I'd assembled it. I only knew that I wasn't going to make it pop up. Don't take that the wrong way though. It wasn't that I couldn't think of what to use it for...quite to the contrary! Did I want to make a photo box? Or an ornament? Maybe a bat...because that is what those top pieces remind me of? Get the idea?

As I was looking at it I thought, "that would make a great alphabet block!" However, having only one to play around with....and of course, I'd gone and assembled it already...it occurred to me how cute it would be as a baby block that one could use for a baby shower favor!


So, I worked a little bit backwards. If I hadn't put the cube together first, I probably would have covered the individual pieces with paper first. Since I didn't do that, I had to work a little bit backwards. Now a note to all....if you are going to use your diecut as a pop up, will want to do your assembly with really super strong glue! As I knew my box would be stationary, I used my ATG tape runner to put the actual box together.


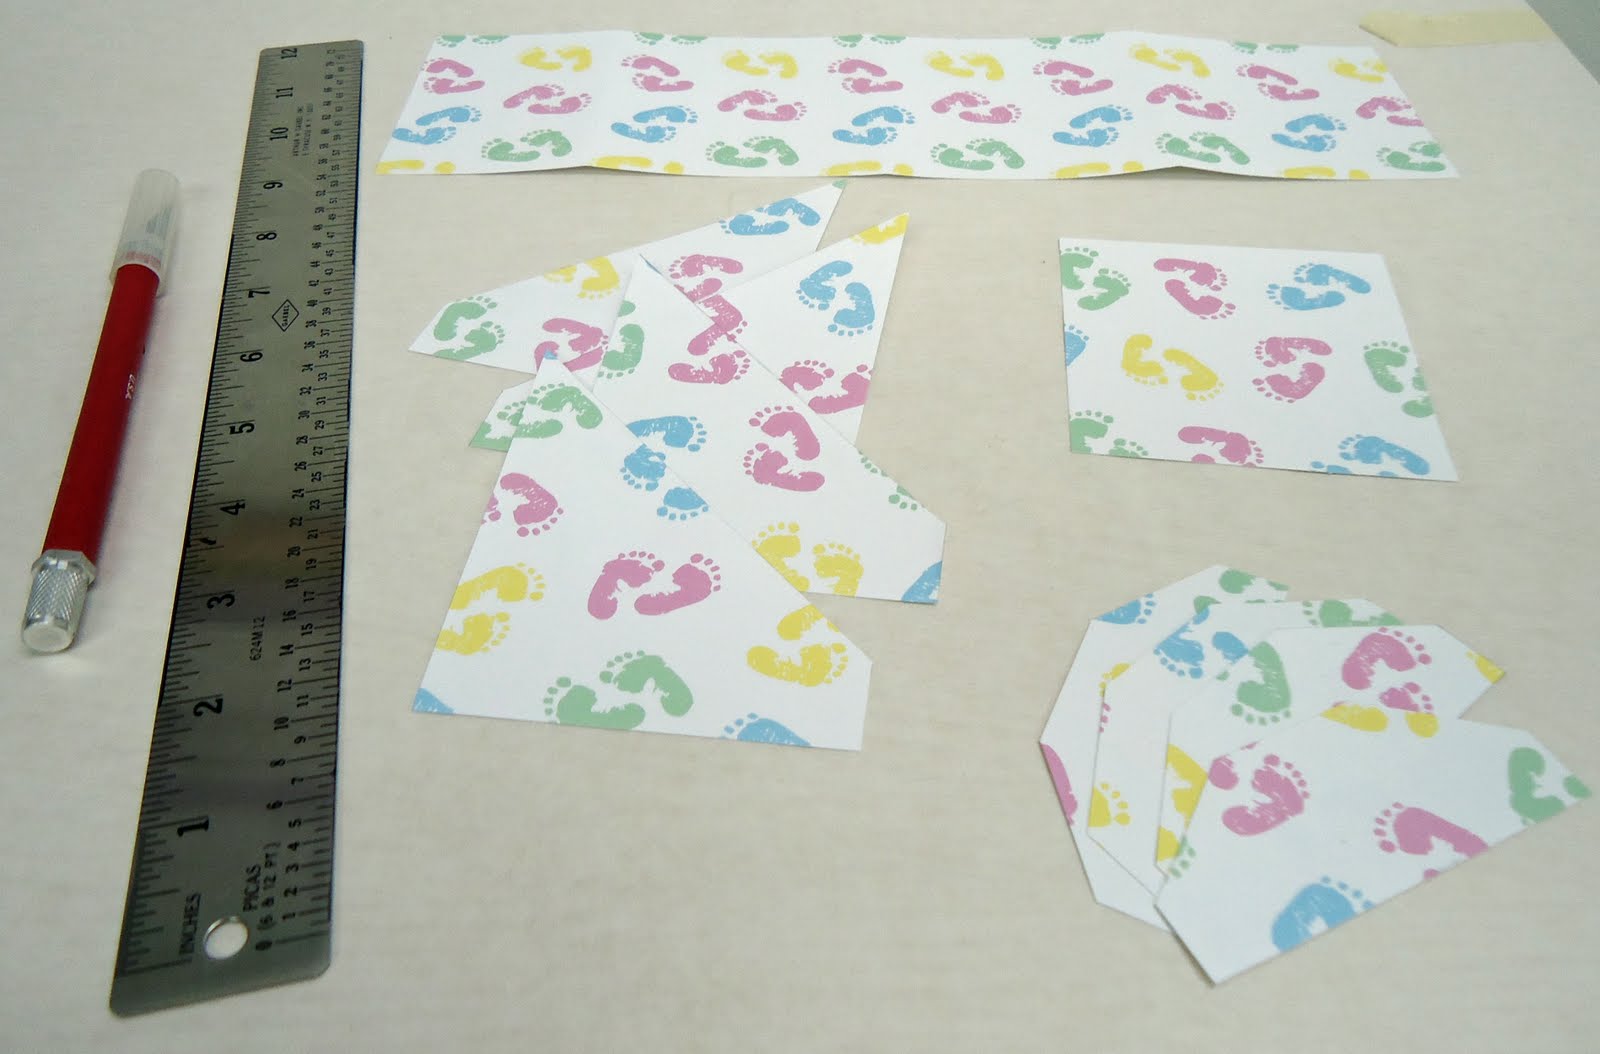
I covered the top tabs first. I used PPA to apply the paper to the cube. I have found that once the glue dries, it adds a little stability.


Then I covered the sides also using PPA. I didn't cover the bottom, but of course, if you'd like to on yours that's just fine! I also chose to cut away the part of the tab that looks like a wing.


Next, I used 1/8" pale green ribbon to finish off the top edges of the box. It hid any black sticking out and gave it a cleaner look.


I used my pastel colored solid papers to adhere to the sides of the cube. The first layer I cut 3"x3" and taped them to the sides of the box. I cut another set the same size and trimmed the edges with my Scalloped edged scissor. How did I get that so straight? You can take a look at the technique I used at this past Tuesday's Tips, Tools & Techniques post. I layered the scalloped pieces on top of each square. Plus I made sure to have a different color combination on each side.


I love Stickles! It is glittery and sparkly without the mess. Not that I mind mess, of course, but it is fun and easy and quick to use. Here I applied a little dot of Stickles in the center of each scallop.


Don't those Stickle dots look great? Now my favorite part of the cube is the letters. I used chip board letters that spelled out B A B Y. I painted each letter a different color with acrylic paint and let them dry really well. Then I applied a thin coat of Golden's Fluid Matte Medium to the front of the letters and then dipped those into that Lily White Glitter. It is a super fine glitter and the paint color shows right through it. Love it! Then I glued one letter to the center of each paper panel.


Finally, I punched two tiny holes using my 1/16th" hole punch into the tip of the triangular side tabs. I threaded the organza ribbon through each side and tied a simple knot. The hole is so tiny that the big knot I made will not go through it. Plus the layers of paper, glue and the ribbon lining should keep anything from ripping. I mean, I wouldn't load this thing up with change...but for it's intended purpose here, it is perfect.


I threw in some tissue paper in baby colors to bring it all together. Then I filled my baby favor up with candy. Hmmm...I think I am detecting a theme. I dunno, maybe I'm always hungry when I'm working on these types of projects!


I hope you enjoyed this week's project. I really think it looks so sweet.

Artfully yours,
Theresa

Wednesday, November 3, 2010

SIZZIX TRIPLE PLAY BLOG HOP WEEK 1: GINGERBREAD HOUSE


Hello and welcome to Week 1 of the Sizzix Triple Play Blog Hop. This is so exciting and I have been having way too much fun playing at the studio here. This is a long post, so I'm going to get right down to it....but just remember to click "Hop Forward" (or back) on the Sizzix icon in the sidebar to see what everyone else has done with this fantastic house die, which was designed, btw, by our own talented Eileen Hull.

So, with no further adieu, away we go....

Sizzix supplies:
#656836; Sizzix Scoreboards Pro Die - House, 3D, by Eileen Hull
Sizzix 12x12 matboard, white
Sizzix Big Shot Pro die cutting machine

Other supplies:
Plaid's Folk Art Acrylic Paint, Bark Brown
Plaid's Fold Art, High Definition Visual Texture, Wicker White
Golden's Gel Medium, Regular Gel (Matte)
Foam Brushes
Paper Plates
Scissors or Xacto knife
Pencil
Ruler
Plastic Baggie (1 gallon size)
Styrofoam disc, 6" diameter
Styrofoam balls, 1.5" round
Canvas board, 9x12
Buffalo snow
Glitter
Candy: Twizzlers (pull 'n peel), M&M minis, Jolly Rancher Pops, Mike & Ikes
Shredded Coconut


After the die was cut and pulled apart, I used Plaid's Bark Brown acrylic paint to paint the board. Depending on the look you're going for will determine how many coats. I wanted a dense look, so I used 3 coats. Above shows what the paint looked like after one coat.


Once the paint dried, I made a lattice pattern on both sections of roof. I did use a ruler and pencil to mark where I wanted the lines. I then traced the lines freehand with Plaid's High Definition Visual Texture. It really works well for this effect as the bottle has a pointed applicator and it holds the dimension so you have that raised effect.


Make sure everything is dry before you start assembling the house. I used Golden's Gel Medium to glue my house together. I like the consistency of it. Plus it is really strong. Resist the temptation to touch the roof before the glue has time to set. After it is mostly dry (yes, I'm very impatient lol), I started to add the M&M Minis. They are the perfect size for this. I adhered them with the Gel Medium. I kind tilted the house on it's side, added the candy and let that set up before starting the other side. Doing this will ensure that none of the M&Ms fall off.


Just to make it a lil sweeter, I outlined the door and the underside of the roof with the Pull 'n Peel Twizzlers. I glued on the smaller roof, then, using that High Definition Visual Texture again, I made a scallop design all over the front, sides and back of the house. I also added some little details like piled snow on the fence, around the windows and around the door.

This is what it looked like...


Now just to backtrack a little bit, I don't want you to think that there is a lot of sitting around eating Snickers while waiting for glue and texture paint to dry. NO WAY! See, I was having such a good time that I went a little crazy. I decided to make this into a display piece. So here is what I was doing in between working on the house...


The base is simply a 9x12 piece of canvas board. I keep it around my studio all the time. The styrofoam disc I glued to the canvas board with Gel Medium. I sketched out a pathway so I would have an idea as to where I wanted those styrofoam balls to go. There are 6 in the picture above, but I ultimately went with 5. Those are also glued down with Gel Medium, but before gluing them down, I wanted to flatten the bottom a bit. To do that, just rub two of the balls together and they sort of just file each other down. Doing that before you glue helps make them more stable.


Next, I used a foam brush and put a light coating of Gel Medium all over the board and styrofoam. I covered the whole thing with Buffalo Snow. I pulled the snow very thin. I then glued Mike & Ikes to construct the path that leads from the house.


Set the house onto the display, so the door lines up with the path. To simulate trees, I pushed Jolly Rancher lollypops into the styrofoam balls.

Coconut!! Now, it's messy...but a cool effect. Take some shredded coconut and put it in a ziplock bag. Add glitter to it! Close the bag. (yep, I said it...cause someone will forget. I guarantee it lol) Give it a good shake. The coconut is moist, so the glitter will stick to it. Then sprinkle that mixture all over. I added a little extra glitter just for good measure.

That's all there is to it! This was an amazingly fun project. I sure hope you will try it out at home. Be sure to let me know how it turned out.

Artfully yours,
Theresa


Sunday, October 17, 2010

A Meaningful Quote...


Hi and welcome back!

Years ago, I came across a quote on a rubber stamp. That quote read: "What would you attempt to do if you knew you would not fail?" It really had a profound effect on me both personally and professionally. Back then, I was just starting to define who I am as an artist and designer. I thought, back then, I knew the direction in which I wanted to head. Along the way, I got lots of advice...both good and bad, as well as a lot of encouragement and discouragement! It left me, shall we say, very tentative at best.

As many of us creatives do...I talked myself into and out of things during my journey. As I "grew up" and did some serious self discovery, I began to trust my own instincts and decisions. I was able to get a better grasp on what it meant for me to be successful in all aspects of my life. I found it easier to take a negative and make it into a positive...which brings me back to that stamp!

Now, as I have mentioned, there was just something about the quote on that stamp that had a grip on me. Once in a while, I would pull it out of it's home in my studio and leave it out on my work table and wonder what...though I loved it...bothered me so. I mean, if you read it, it seems like such a positive message! Yet, in all the years I had it, I believe I only used it ONE time!

Jump forward a couple of years, here I am in my new studio! One of the best things about having to move all my supplies out of my studio was that I got to go through everything I owned...and I found things that I'd forgotten I'd had...or thought I'd lost! LOL One of those things was that darn stamp again! During the move, I saw that stamp and I copied that quote at the top of my massive "to do" list. Every time I opened my notebook to that list, I would read that quote and something about it just felt wrong.

It wasn't until I'd been in my studio a couple of months that it hit me. I remember thinking I was brave in my decision to move into an independent place. I remember being proud of having set goals that were realistic and attainable. I remember thinking that I was not afraid of the hard work it would take to achieve those goals...one of which was to start teaching classes at my studio. And there I was, looking at that quote again..."What would you attempt to do if you knew you would not fail?"...thinking, wasn't I attempting something BIG!? I wasn't letting fear control my choices! So what was the problem with those few words?

It took a little more time before I could hear the answer clearly. It was in the middle of the night...as is typical with me. I woke myself up and grabbed the book I'd been making notes in and rewrote the quote to say..."What would you attempt to do if you knew you would succeed?"...and went back to sleep. The next morning when I reread what I'd written, it made sense. It was the word "fail". What a negative word. It sure didn't fit into my place of positivity! I knew that this newly worded quote would become my mantra as I build my empire...however large or small I decide it to be. Soon after, I began creating this textured collage which now hangs proudly in my studio...so I don't forget. EVER!

This weekend, I am holding my first Open House at my studio. I am introducing my roster of classes, doing make & takes, giving gifts and holding a raffle of really terrific Plaid products...basically just having a grand celebration to let the community know I'm here! In the spirit of Field of Dreams...."if you build it, they will come"...I am here to share my love of art with anyone who cares to join me in this journey. I'm just beginning....again!

Artfully yours always....
Theresa

Tuesday, April 20, 2010

Introducing...

Welcome to my new space! This is Altered Canvas Studios. My new home base, haven, sanctuary. All I know is I FEEL amazing here...not that my anxiety doesn't sometimes reach the outer rings of Saturn, mind you. Let me show you around so that you know what my new surroundings look like.

The best thing EVER about my physical space is the WINDOWS! I have two of them. All of you artists out there know there is nothing better than natural light. Not that I won't be breaking out my OTT Lite from time and again, but at least while I am there during the day I can open my windows, get some fresh air, and SEE all the colors in their natural glory.

The second best thing? I have TWO, yes, really, TWO rooms! So now I don't have all my office things crammed in amongst the art supplies (which are extensive, lemme tell ya). This kind of allows me to pay attention to whichever aspect of my business I need to concentrate on. OK, I'll cop to it...the "business" side was suffering. Can you really blame me? With all those art supplies looming and calling my name who wants to update Quickbooks??

So here we are....

I have two rooms as I mentioned. Suites 5 and 8 respectively. For my mailing address I use 8...because it's my birthday! Well, that and it is the door with the mail slot. Sometimes I make decisions that uses a bit of sense.

When you walk in the door, you enter the studio side:

See? There is one of the windows I was talking about. Then if you look to the right....

You should get a sense as to what kind of business resides here. Either that, or you are a little slow. I have had a few visitors to the studio...mostly other tenants. This section of my studio generates a lot of questions. I'm happy to answer too...because I have physical stuff to back me up!

Now, if you look left....

Holy batman! Did I mention I have TWO rooms now? We haven't even gotten to the office yet. I have to tell you a secret. Not to sound like I am bragging or anything, but I am not only gifted artistically and vocally, but I also am amazing (toot toot) with spacial things. Like fitting the most amount of stuff into a small space. AND...a sometimes useful talent...I can find the center of anything usually within less than 1/16 of an inch. Who needs a tape measure to hang things? Puh-lease! I think I just got busted...I AM BRAGGING! Sometimes I amaze even myself. Can you believe that I managed to fit two rooms full of stuff into 100 square feet of space in my house?

Oh boy....serves me right. Apparently I am not all that gifted with Blogger yet as I see I have downloaded the same picture twice and cannot figure out how to delete it without restarting this whole blog. Now I could have been sneaky and said...."wow...I just had to get another shot of that paper rack in", but I will own up. :)

Now here is my office...

You can see the open doorway between here and the studio. Very convenient. While I am paying bills and sorting though email, Facebook and Twitter I can still clearly hear my paints, stamps, paper and other ephemera clearly calling me, but yet I can act like I don't because it is time for the left side of my brain to get some action. Clever, right?

There are only three things that are in my current space that are new. The two storage cabinets are new. I needed somewhere to store things that were in the closet in my home studio. I'm very pleased with how they are working so far.

The third thing is the desk...

...and there is that second window! Gotta love the light. My internet is all set up and I like that desk a lot. A friend of mine has the same exact one and now we have cute matching desks! Plus, if a screw falls out or something and I can't find it, I can always conveniently snatch a replacement off of theirs! Shhh...don't tell. The mind is always going over here...

Finally, you can see I have a couple of little things that still need to find a home. I'll figure it out. Me and making a space work are tight! The final things I need are a mini fridge and a coffee maker. All in good time...I'm in no rush.

I hope you enjoyed a sneak peak. I really wanted to make sure you all got to see it now as it will most likely be the last time that it is uncluttered! LOL I don't clean while I work. Nothing more satisfying than an artful mess.

So, what do you think? I'm both excited and nervous. I keep thinking that I need to treat my business more like a business, so..."if you build it, they will come". Wish me luck. Hope to hear from you.

Artfully yours....
Theresa
Related Posts Plugin for WordPress, Blogger...