Showing posts with label Plaid. Show all posts

Thursday, November 25, 2010

SIZZIX TRIPLE PLAY BLOG HOP WEEK 4: SCHOOL DAYS


Happy Turkey Day everyone! Welcome to Week 4 of Sizzix Triple Play Blog Hop. Can you believe we are smack dab in the middle already? Time sure does fly when you're having fun. This week we are using Eileen Hull's Frame and Frame Back with Stand. Let me tell you, there are a lot of elements with this die! There are really so many possibilities. I was really inspired most of all...you're gonna think I'm weird...by the flat back piece. I don't know what screamed out "chalk board!", but it did. I don't pretend to understand these things, I just go with it.

Let's start of with our supplies this week:
Sizzix Scoreboard Pro Die #656835-Frame and Frame Back w/Stand by Eileen Hull

Other supplies I used
Preserve it Frames 15x15 Black Frame Kit
Raven Black Paper by Bazzill
White Paper
Vellum
Polka Dot Paper by Time Flies
B&W Alphabet Paper by Rusty Pickle
Vintage Chalk by Rusty Pickle
Black Soot Distress Ink by Tim Holtz
Crayola Chalk
1/8" stripped ribbon
Mod Podge
Black Chalk Paint by Plaid
Brown Acrylic Paint
Foam Brushes
Sakura Gelly Roll Glitter Pen
Ultra Fine Point Black Sharpie
White Paint Pen
Foam Tape
Double Stick Tape
Sand Paper
Xacto Knife & Mat
Stipple Brush
Flat Wood Strips
Textural Wood Image


You can see for yourself, this die comes with a lot of elements! You can choose to put them together OR you can use them separately as I did. I have saved the elements that I didn't use for another day. Now...as I mentioned...there was just something about that back piece that make me want to make it into a chalkboard...so I did. Who am I to argue with my inner voice?! To be honest, I think I have just been dying to play with Plaid's Chalk Paint for so long and this really lends itself perfectly.

I painted the back piece according to the directions on the Chalk Paint. You really want to do this first because it needs a couple of coats and then needs to cure for 24 hours. Then you can work on other elements. Then I took thin flat wooden strips that I got from Michaels. I used my Xacto to cut them to the desired size, then gave them one light coat of paint. **Just a note - the chalk paint is going to make the mat board curl. Don't worry about it. It will flatten out some on it's own AND if need be you can always straighten it out later.**


In between coats of paint and drying time, I set to work on my layout.


I took a piece of Raven Black Paper by Bazzill and rubbed a piece of white chalk over half of it. I like this effect because the the Bazzill paper has a texture to it. I tore the polka dot paper and with a stipple brush gently brushed Black Soot ink across the edges. I repeated this process with the chalk paper. Finally, I adhered them to each other in this order....


Doesn't that chalk paper look cool!!!! I didn't get a good pic of it, but once I was at this stage, I took a pice of sand paper to the edges of the chalk and polka dot papers.


I took the scalloped edge frame and and taped the B&W Alphabet paper to the front of the frame. With my Xacto I trimmed away the excess paper. The next frame layer that I put underneath, I used my stipple brush again just at the edges.


Now, in between the two frames I sandwiched a photo that I printed on vellum paper and then layered over white. WHY?? I just happen to like the effect. It comes out softer than when printed on photo paper. Oh, I also went into Photoshop and converted my pics to black and white to stay consistent with my theme.


Again, I took some sandpaper to the front frame to distress it some. I assembled all the layers and added the ribbon and the heart (which is one of the elements in Eileen's die!). I stippled some Black Soot on the edges of the heart, used a Black Glitter Sakura Pen to make the stitch marks and a fine tipped Sharpie.


I took the smallest frame and again stippled the edges, but I also took a textured stamp and stamped it all over the front of the frame in the Black Soot. Then I layered the vellum and white paper underneath it. I tied a simple ribbon and used Mod Podge to fix it to the frame.


Now remember that back piece that I painted with the Chalk Paint? Yanno, that stuff really works great?! I was very impressed with how well it works. Anyway, I just used double stick tape to frame the "chalkboard". I drew on the hearts with a white paint pen....but I used CHALK to write "first day of school".


I tied ribbon around one piece of chalk and added a couple more pieces of chalk which I adhered with Mod Podge. I attached all the elements to my page and then set it aside as I waited for the chalk to dry.


I really like how the this page turned out. I wanted to do something special with it, especially because it is so dimensional, so I decided to frame it with a Preserve it Frame kit I had. The plexiglass is actually a cube with a 1/4" inch lip around the perimeter and it us UV coated so that my papers and photos are protected. It enables me to put dimensional pages underneath without having to use such a deep shadow box.

I hope you enjoyed this week's project. I know that I sure enjoyed creating it. Again, Happy Thanksgiving....time to hop!

Artfully yours,
Theresa

Wednesday, November 17, 2010

SIZZIX TRIPLE PLAY BLOG HOP WEEK 3: MY VINTAGE GARDEN


Welcome back! We are now on Week 3 of Sizzix Triple Play Blog Hop. I had so much fun this week playing with the featured die...which was designed by Brenda Pinnick. So go grab a cup of java and settle in...I have lots of pictures this week!

Let's start with a list of supplies:

Other Supplies:
  • 12x24 stretched cotton canvas
  • Sizzix Sizzlets Die Set # 656539 3PK - Flower Layers #3
  • Tim Holtz Distress Ink: antique linen, tea dye, vintage photo, walnut stain
  • Stipple brushes
  • Make-up sponges
  • Small brads: pale yellow, bright yellow, antique brown
  • Mod Podge: paper and fabric
  • Paper piercing tool
  • Folk Art High Definition Visual Texture by Plaid: sunflower, yellow ochre, forest moss, hauser green medium, thicket
  • Textured stamp
  • Vellum
  • Bazzill papers

I started with a blank canvas. It matters not what size you choose. I selected 12 x 24 because I wanted to have a lot of surface on which to add texture. I did not treat the canvas with Gesso or anything else. I left a completely bare surface.


Then using Tim Holtz's Distress Ink in my fav colors, some makeup sponges and stipple brushes I start to distress the surface of the canvas. I stippled and I sponged...and I even went direct to canvas with my pad. If you are not familiar with the process, you simply rub the surface of the ink pad directly onto the surface where you want the color. **IMPORTANT NOTE: Canvas is a textured surface...so be aware that the stamp pad surface can get a little bit chewed up. I have doubles of all my pads, so I have a set just for this purpose.**

When I distress anything I start with the lightest color and work to my darkest. I also start at the edges and work my way in towards the middle. I use my darkest colors towards the edges.


Brenda was very generous with the amount of blooms she supplied and so I took one of the paper bloom and used it as a stencil. I placed the bloom onto the canvas surface and then stippled some tea dye and vintage photo around the edges of the bloom. It created this effect:


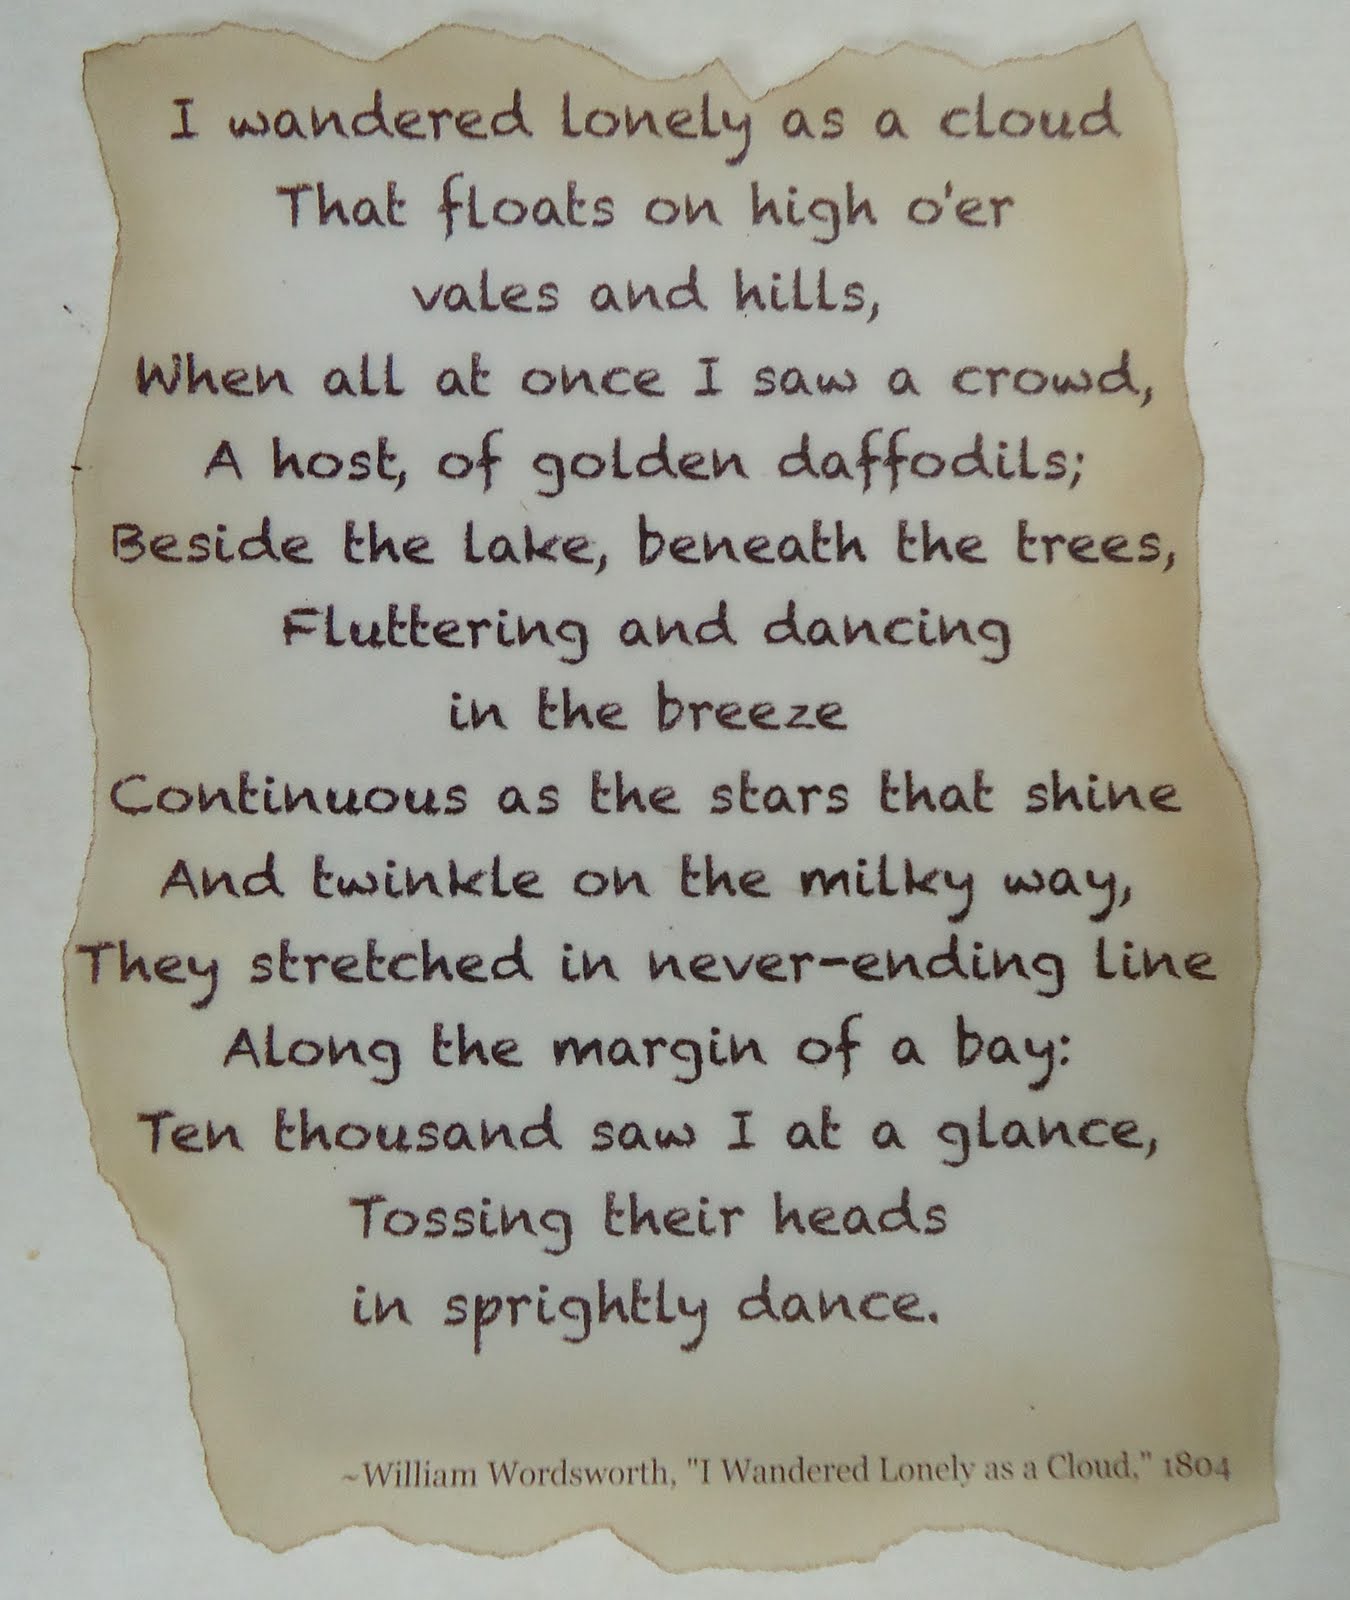
Next, I printed out a poem that I really liked onto vellum. Now I realize the poem refers to daffodils...but I am taking artistic license here! I tore the edges and then I stippled on the BACK side of the vellum one of my lighter color inks, again working from the outside to inside. If you can see in the photo below...I didn't stipple the color over the entire piece of vellum. When you do this technique, the color should be darkest at the edge and gradually lightens as you work towards the middle. Then, I flipped the vellum back to the front and with the next shade darker ink...I stippled just the very edge of the vellum.


Using a very thin coat of Fabric Mod Podge, I adhered the vellum to the canvas. Now don't worry if the vellum resists sticking. What I did is put a book under the canvas, then I placed a piece of wax paper over the vellum and put a couple of heavy books on top of that. I left it for a a while. Once that adhesive is dry, it's on there! **NOTE: always put wax paper or butcher paper between layers that are still wet from glue so that they don't bleed on each other or stick together!


I really love using vellum. Because it is translucent, you can still see the stenciled blooms behind it.


Next, I began to layer the pieces of the blooms together. Brenda sent such a variety that no bloom looks the same! I did stipple some ink onto the paper pieces and some onto the fabrics and felt to mute down the color to go with my vintage theme. Isn't that beautiful!

I cut a few extra blooms with another Sizzix die I had so that I could cover more of my surface and compliment the Brenda's big flower blooms. I altered some of the blooms with the ink and a textured stamp. I assembled the flower layers and pierced the centers with a paper piercer so that I easily slide in the brads.

I used Mod Podge for fabric and for paper to adhere the blooms to the canvas...then I let it dry completely.


Once everything was dry, I started to add some details by doodling some vines and leaves onto the canvas with the Visual Texture by Plaid. I just love that stuff! It adds a lot of dimension. I also added some extra details right onto the flowers!


I was really pleased with how my project came out this week. It is very me! I can't wait to see what everyone else has done...I am sure you feel the same. So, go ahead.....hop forward!

Artfully yours,
Theresa

Wednesday, November 10, 2010

SIZZIX TRIPLE PLAY BLOG HOP WEEK 2: B is for BABY


Hello again! Welcome to Week 2 of the Sizzix Triple Play Blog Hop! This week features Karen Burniston's Twist Cube Die. Lemme tell ya...it is a really fun die to play with because it is interactive. When using the die as originally instructed, it twists and pops up. Very cool effect. I, however, decided to do a little something different with it. Hope you like!

The materials you will first need to get started are:

Sizzix Big Shot cutting machine
Sizzix Accessory - cutting pad, extended
Sizzix Accessory - premium crease pad, extended

Here are some other materials that I used:

ATG Tape Runner
Paper Trimmer
Xacto knife and mat
Family Treasure's Scalloped edged scissors
1/16th" hole punch
PPA
Golden's Fluid Matte Medium
Baby Feet paper, Stemma
Pastel colored card stock, Bazzill
Pale green satin ribbon - 1/8"
Yellow organza ribbon - 3/4"
Plaid's Folk Art Paint in light blue, jamaican sea, lemonade and baby pink
Doodlebug Design Sugar Coating lily white glitter
Stickles
Tissue paper
Candy


Karen and the lovely staff at Sizzix were kind enough to send me a nice neutral color...black. The first thing I did was assemble the box. I am going to be very honest here! I had no idea what I was going to do with it after I'd assembled it. I only knew that I wasn't going to make it pop up. Don't take that the wrong way though. It wasn't that I couldn't think of what to use it for...quite to the contrary! Did I want to make a photo box? Or an ornament? Maybe a bat...because that is what those top pieces remind me of? Get the idea?

As I was looking at it I thought, "that would make a great alphabet block!" However, having only one to play around with....and of course, I'd gone and assembled it already...it occurred to me how cute it would be as a baby block that one could use for a baby shower favor!


So, I worked a little bit backwards. If I hadn't put the cube together first, I probably would have covered the individual pieces with paper first. Since I didn't do that, I had to work a little bit backwards. Now a note to all....if you are going to use your diecut as a pop up, will want to do your assembly with really super strong glue! As I knew my box would be stationary, I used my ATG tape runner to put the actual box together.


I covered the top tabs first. I used PPA to apply the paper to the cube. I have found that once the glue dries, it adds a little stability.


Then I covered the sides also using PPA. I didn't cover the bottom, but of course, if you'd like to on yours that's just fine! I also chose to cut away the part of the tab that looks like a wing.


Next, I used 1/8" pale green ribbon to finish off the top edges of the box. It hid any black sticking out and gave it a cleaner look.


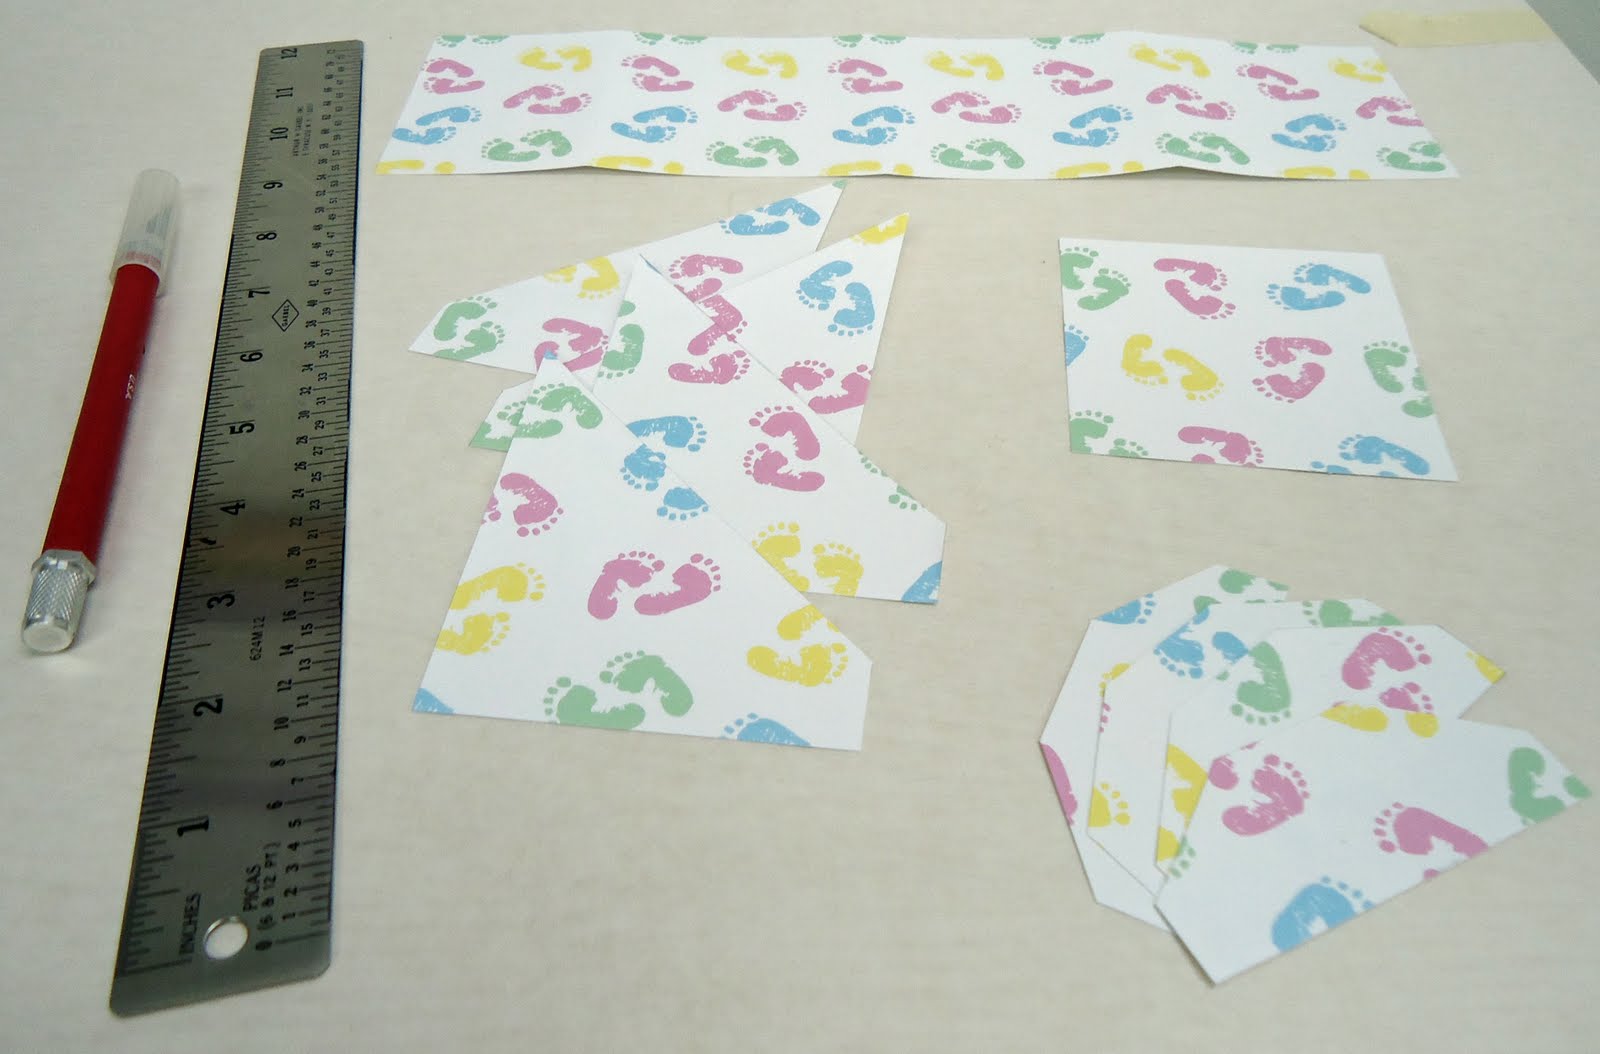
I used my pastel colored solid papers to adhere to the sides of the cube. The first layer I cut 3"x3" and taped them to the sides of the box. I cut another set the same size and trimmed the edges with my Scalloped edged scissor. How did I get that so straight? You can take a look at the technique I used at this past Tuesday's Tips, Tools & Techniques post. I layered the scalloped pieces on top of each square. Plus I made sure to have a different color combination on each side.


I love Stickles! It is glittery and sparkly without the mess. Not that I mind mess, of course, but it is fun and easy and quick to use. Here I applied a little dot of Stickles in the center of each scallop.


Don't those Stickle dots look great? Now my favorite part of the cube is the letters. I used chip board letters that spelled out B A B Y. I painted each letter a different color with acrylic paint and let them dry really well. Then I applied a thin coat of Golden's Fluid Matte Medium to the front of the letters and then dipped those into that Lily White Glitter. It is a super fine glitter and the paint color shows right through it. Love it! Then I glued one letter to the center of each paper panel.


Finally, I punched two tiny holes using my 1/16th" hole punch into the tip of the triangular side tabs. I threaded the organza ribbon through each side and tied a simple knot. The hole is so tiny that the big knot I made will not go through it. Plus the layers of paper, glue and the ribbon lining should keep anything from ripping. I mean, I wouldn't load this thing up with change...but for it's intended purpose here, it is perfect.


I threw in some tissue paper in baby colors to bring it all together. Then I filled my baby favor up with candy. Hmmm...I think I am detecting a theme. I dunno, maybe I'm always hungry when I'm working on these types of projects!


I hope you enjoyed this week's project. I really think it looks so sweet.

Artfully yours,
Theresa

Wednesday, November 3, 2010

SIZZIX TRIPLE PLAY BLOG HOP WEEK 1: GINGERBREAD HOUSE


Hello and welcome to Week 1 of the Sizzix Triple Play Blog Hop. This is so exciting and I have been having way too much fun playing at the studio here. This is a long post, so I'm going to get right down to it....but just remember to click "Hop Forward" (or back) on the Sizzix icon in the sidebar to see what everyone else has done with this fantastic house die, which was designed, btw, by our own talented Eileen Hull.

So, with no further adieu, away we go....

Sizzix supplies:
#656836; Sizzix Scoreboards Pro Die - House, 3D, by Eileen Hull
Sizzix 12x12 matboard, white
Sizzix Big Shot Pro die cutting machine

Other supplies:
Plaid's Folk Art Acrylic Paint, Bark Brown
Plaid's Fold Art, High Definition Visual Texture, Wicker White
Golden's Gel Medium, Regular Gel (Matte)
Foam Brushes
Paper Plates
Scissors or Xacto knife
Pencil
Ruler
Plastic Baggie (1 gallon size)
Styrofoam disc, 6" diameter
Styrofoam balls, 1.5" round
Canvas board, 9x12
Buffalo snow
Glitter
Candy: Twizzlers (pull 'n peel), M&M minis, Jolly Rancher Pops, Mike & Ikes
Shredded Coconut


After the die was cut and pulled apart, I used Plaid's Bark Brown acrylic paint to paint the board. Depending on the look you're going for will determine how many coats. I wanted a dense look, so I used 3 coats. Above shows what the paint looked like after one coat.


Once the paint dried, I made a lattice pattern on both sections of roof. I did use a ruler and pencil to mark where I wanted the lines. I then traced the lines freehand with Plaid's High Definition Visual Texture. It really works well for this effect as the bottle has a pointed applicator and it holds the dimension so you have that raised effect.


Make sure everything is dry before you start assembling the house. I used Golden's Gel Medium to glue my house together. I like the consistency of it. Plus it is really strong. Resist the temptation to touch the roof before the glue has time to set. After it is mostly dry (yes, I'm very impatient lol), I started to add the M&M Minis. They are the perfect size for this. I adhered them with the Gel Medium. I kind tilted the house on it's side, added the candy and let that set up before starting the other side. Doing this will ensure that none of the M&Ms fall off.


Just to make it a lil sweeter, I outlined the door and the underside of the roof with the Pull 'n Peel Twizzlers. I glued on the smaller roof, then, using that High Definition Visual Texture again, I made a scallop design all over the front, sides and back of the house. I also added some little details like piled snow on the fence, around the windows and around the door.

This is what it looked like...


Now just to backtrack a little bit, I don't want you to think that there is a lot of sitting around eating Snickers while waiting for glue and texture paint to dry. NO WAY! See, I was having such a good time that I went a little crazy. I decided to make this into a display piece. So here is what I was doing in between working on the house...


The base is simply a 9x12 piece of canvas board. I keep it around my studio all the time. The styrofoam disc I glued to the canvas board with Gel Medium. I sketched out a pathway so I would have an idea as to where I wanted those styrofoam balls to go. There are 6 in the picture above, but I ultimately went with 5. Those are also glued down with Gel Medium, but before gluing them down, I wanted to flatten the bottom a bit. To do that, just rub two of the balls together and they sort of just file each other down. Doing that before you glue helps make them more stable.


Next, I used a foam brush and put a light coating of Gel Medium all over the board and styrofoam. I covered the whole thing with Buffalo Snow. I pulled the snow very thin. I then glued Mike & Ikes to construct the path that leads from the house.


Set the house onto the display, so the door lines up with the path. To simulate trees, I pushed Jolly Rancher lollypops into the styrofoam balls.

Coconut!! Now, it's messy...but a cool effect. Take some shredded coconut and put it in a ziplock bag. Add glitter to it! Close the bag. (yep, I said it...cause someone will forget. I guarantee it lol) Give it a good shake. The coconut is moist, so the glitter will stick to it. Then sprinkle that mixture all over. I added a little extra glitter just for good measure.

That's all there is to it! This was an amazingly fun project. I sure hope you will try it out at home. Be sure to let me know how it turned out.

Artfully yours,
Theresa


Related Posts Plugin for WordPress, Blogger...