Showing posts with label Brenda Pinnick. Show all posts

Friday, February 11, 2011

My Monday at CHA

Hello crafty ones!

Just when you thought it was all over....there's more!  There is just way too much to share!  

Monday began with more time spent doing make and takes with When Creativity Knocks!  I even guest appeared on one episode with Ana.  That was a nice surprise!  I'm always amazed at what Ana Araujo creates with foam board.  Sometimes I wish I could spend a couple of hours in her head so that I can wrap my head around it!!  Just amazingly incredible!  All the videos of these awesome cards will be up on the WCK website soon.  


At the show, Ana and Megan interviewed some of CHA's top crafters.  The segments are titled Great Crafter's Viewpoints and you can see segments from some of the industry greats like Brenda Pinnick, Suede, Mark Montano and Drew Emborsky, "The Crochet Dude"...just to name a few.  Plus, Laura Bray taped at fantastic segment called Valentine Votives at Art Glitter.  You don't want to miss that!!

Ana Araujo and Cindi Bisson...two of my favorite designers whom I am proud to call friends!


This smiley fella is Scott Pfeiffer, the Producer of When Creativity Knocks.  He is always behind the cameras and I think he needed to get his props!!  Thank you, Scott!

Next, it was time to stop at Charity Wings, formerly known as Scrapbook Royalty...where I got to speak a little bit with, always gracious, Elena Etcheverry.  They are a very generous organization.  They had the warmest, most inviting booth with all this great, new signage.  Just beautiful.  Plus, they were streaming live during the entire show.


After my visit and short walk of the show floor, it was time to head down to Craft Studio for my demo.  Here is the display case of projects from all the designers who contributed to this event.


Designers were asked to choose between four different material:  yarn, paper, wire and canvas.  We were challenged to do something innovative with those materials.  We were allowed to incorporate other medium into our projects but the focus had to be on the material we chose.  I chose yarn.  Since I don't crochet or knit, I thought it would be challenging and fun.  It really was too!  Once I figured out what I was going to do with cream colored, acrylic yarn!  I used yarn, ribbon, Sizzix die cuts and Ranger's Color Wash to create my piece.  I thought it was pretty innovative!


That's it for today.  There's more to come.....

Thursday, December 9, 2010

SIZZIX TRIPLE PLAY BLOG HOP WEEK 6: VERTICAL WALL HANGING


Here we are again! It's Week 6 of the Sizzix Triple Play Blog Hop!! I am sure you all share in my amazement that 6 weeks has flittered by so quickly. This week features a pretty spectacular die by Brenda Pinnick. Brenda, ever so generous sent over a whole mess of pieces for this project cut from paper, HER fabric, felt and this really awesome material that is really similar to burlap but with a cooler texture. I LOVE TEXTURE! I chose to stick with the material and save the paper til later. Here's what I got in my goody bag...

What was really interesting was that if you go to the Sizzix site you will see that this is intended to be an album. However, since Brenda send the positives and negatives for this die and there was so much of it, I decided to do some layering and make a cool wall hanging for my studio.

The products you will need from Sizzix to use Brenda's die are:
Paper, Mat Board or Fabric of your choosing

I have to share something right now. I think if there was going to be a secondary title for this Blog Post it would be....Confessions of a Sizzaholic! Yes, folks, I am officially hooked on these products and I've gone and bought the farm!

In creating this project, I chose to incorporate some other Sizzix dies to create the wall hanging. Now I know there are just some squares, but it was so much easier to cut them with the Sizzix dies...and, of course, the gigantic Westminster Edition of the Big Shot Pro. This is one sick machine, I tell ya! Isn't it a beauty?!?

Here are the other supplies used in this project:

Fabric
Pellon 911FF - Featherweight Fusible Web (1 sided)
Steam-a-Seam 2 - 1/2" two sided fusible web
Cord
Assorted Ribbon
Assorted Bazzill paper in coordinating colors
Low Temperature Glue Gun
Glue
Glitter
Japanese Screw Punch

Before I ran my fabric through the Big Shot Pro, I ironed on the Pellon fusible web. It is a pretty good stabilizer and makes it easier to cut the fabric. These machines are so great, I was able to run multiple layers of fabric and paper through them. What a time saver!

Once the stabilizer was attached, I ran the fabric through the machine and made my squares. Like this:

Next, I layered my fabric squares along with the pieces from Brenda's kit. I wanted each square to be different and just played until I found something that I liked. Like this:

Once I had 5 squared laid out the way I wanted them. I used the Steam-a-seam 2 between the layers and ironed them together so that they were adhered together.

Next, I laid the assembled squares out in an order that I liked.


One hole is already punched for you with this die, but I needed some extra holes to run my cord through. I punched an extra hole at the top and another at the bottom with my Japanese Screw Punch.

I ran my cord through, running it so that is mostly ran across the back of the square. I am not much for measuring (is that bad?). I am more of an "eye-baller", which is what I did to space these out appropriately.

I tied some little bows and with my hot glue gun, I glued them so that they sat just at the top of the square just covering the bottom hole. This served a couple of purposes. First, it kind of hid the hole. Second, because the glue covered part of the cord, it helped keep the square in place. For good measure, I flipped the squares over and ran a line of hot glue under the cording in the back as well.

I tied a knot in both ends of the cord so that it wouldn't unravel and a simple loop in the top. While I loved the color scheme and the texture of the fabrics, it needed a little something more, so I took some card stock in shades that complimented the colors I was already using and began to cut some flowers with my Big Shot. I cut so many flowers, I'm set for spring!

I then took half my stash and glued and glittered them up just because...honestly...who couldn't use a little sparkle? I assembled the flowers with double stick adhesive, but I glued the bottom layer to the fabric squares with hot glue.

Here are close ups of the squares. I really hope you enjoy!


That's it for this week. It's almost sad...because this means that there is only ONE week left to this blog hop. I am really grateful for this opportunity. It's been a blast!

Gotta hop.....

Theresa

Wednesday, November 17, 2010

SIZZIX TRIPLE PLAY BLOG HOP WEEK 3: MY VINTAGE GARDEN


Welcome back! We are now on Week 3 of Sizzix Triple Play Blog Hop. I had so much fun this week playing with the featured die...which was designed by Brenda Pinnick. So go grab a cup of java and settle in...I have lots of pictures this week!

Let's start with a list of supplies:

Other Supplies:
  • 12x24 stretched cotton canvas
  • Sizzix Sizzlets Die Set # 656539 3PK - Flower Layers #3
  • Tim Holtz Distress Ink: antique linen, tea dye, vintage photo, walnut stain
  • Stipple brushes
  • Make-up sponges
  • Small brads: pale yellow, bright yellow, antique brown
  • Mod Podge: paper and fabric
  • Paper piercing tool
  • Folk Art High Definition Visual Texture by Plaid: sunflower, yellow ochre, forest moss, hauser green medium, thicket
  • Textured stamp
  • Vellum
  • Bazzill papers

I started with a blank canvas. It matters not what size you choose. I selected 12 x 24 because I wanted to have a lot of surface on which to add texture. I did not treat the canvas with Gesso or anything else. I left a completely bare surface.


Then using Tim Holtz's Distress Ink in my fav colors, some makeup sponges and stipple brushes I start to distress the surface of the canvas. I stippled and I sponged...and I even went direct to canvas with my pad. If you are not familiar with the process, you simply rub the surface of the ink pad directly onto the surface where you want the color. **IMPORTANT NOTE: Canvas is a textured surface...so be aware that the stamp pad surface can get a little bit chewed up. I have doubles of all my pads, so I have a set just for this purpose.**

When I distress anything I start with the lightest color and work to my darkest. I also start at the edges and work my way in towards the middle. I use my darkest colors towards the edges.


Brenda was very generous with the amount of blooms she supplied and so I took one of the paper bloom and used it as a stencil. I placed the bloom onto the canvas surface and then stippled some tea dye and vintage photo around the edges of the bloom. It created this effect:


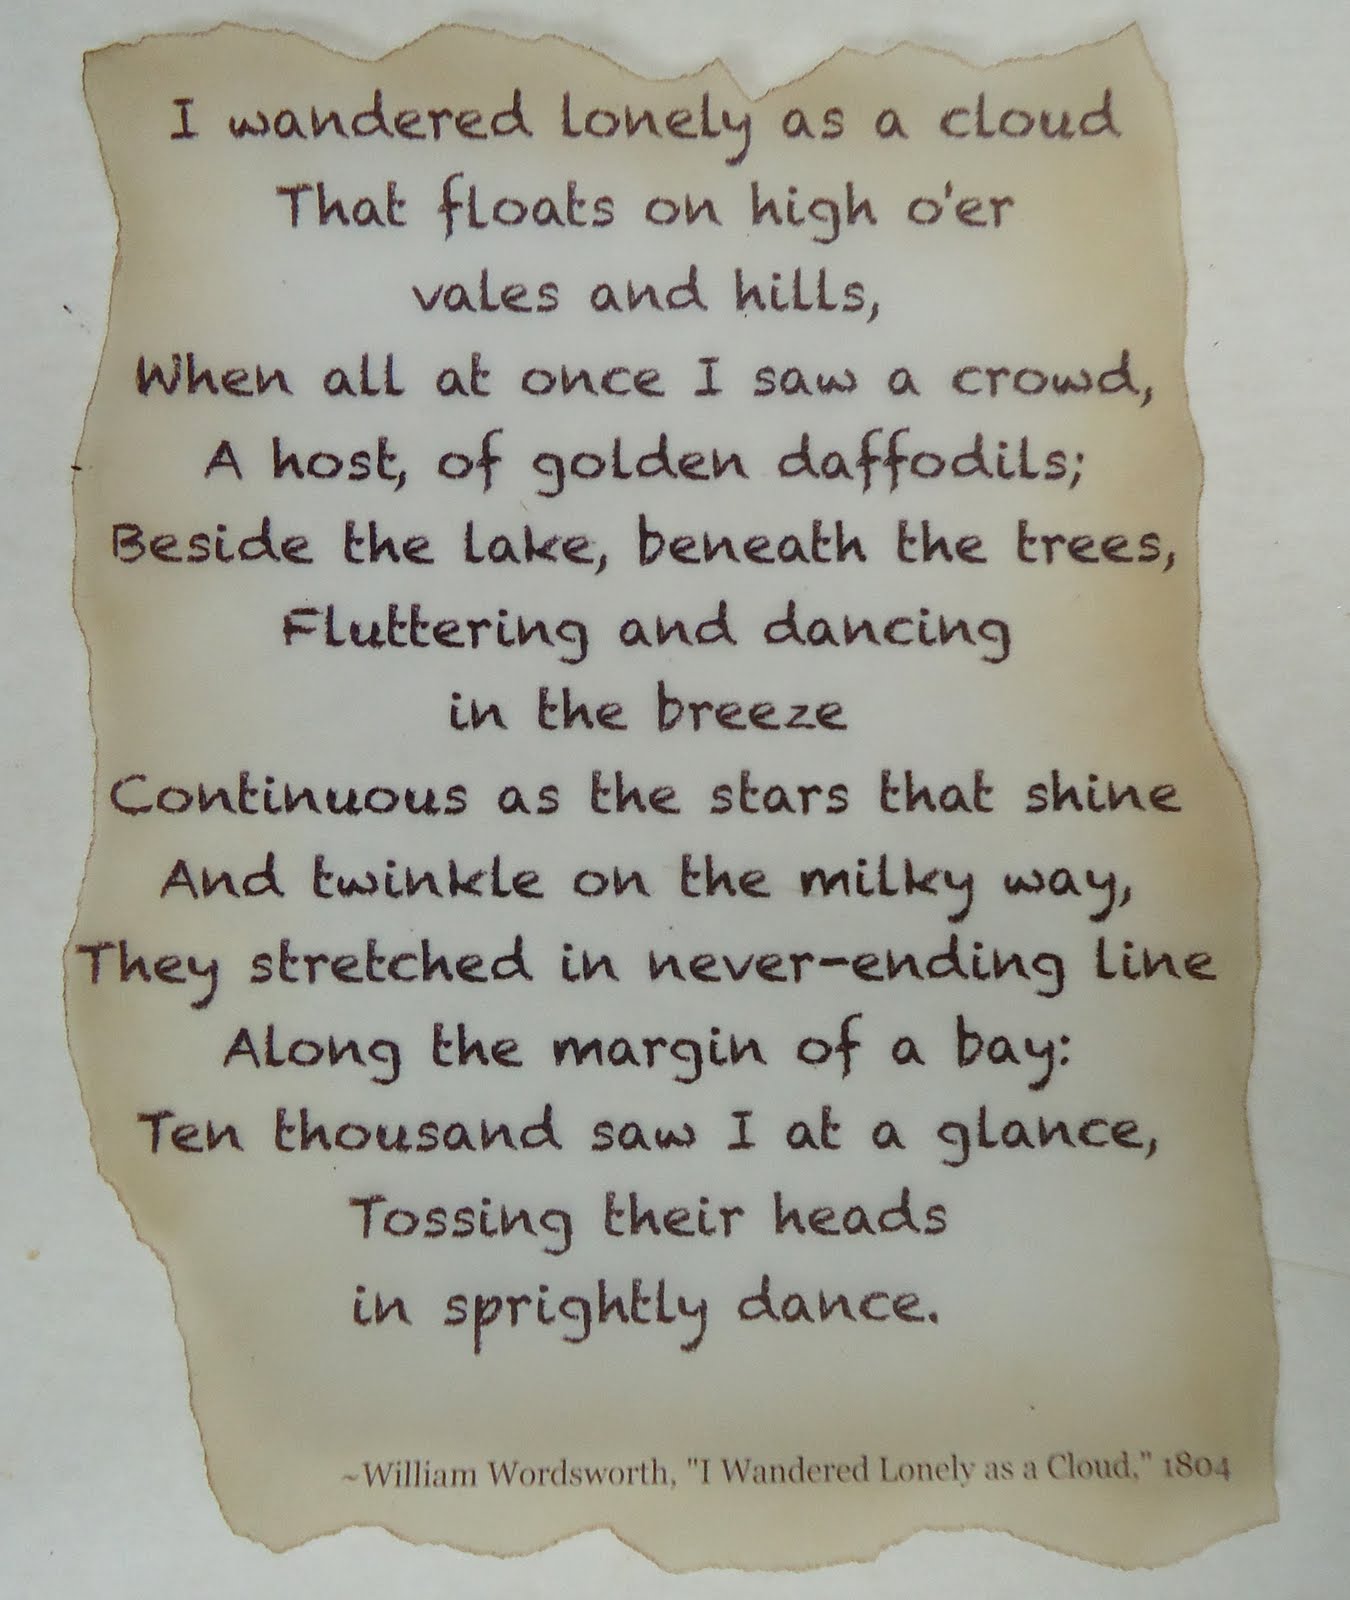
Next, I printed out a poem that I really liked onto vellum. Now I realize the poem refers to daffodils...but I am taking artistic license here! I tore the edges and then I stippled on the BACK side of the vellum one of my lighter color inks, again working from the outside to inside. If you can see in the photo below...I didn't stipple the color over the entire piece of vellum. When you do this technique, the color should be darkest at the edge and gradually lightens as you work towards the middle. Then, I flipped the vellum back to the front and with the next shade darker ink...I stippled just the very edge of the vellum.


Using a very thin coat of Fabric Mod Podge, I adhered the vellum to the canvas. Now don't worry if the vellum resists sticking. What I did is put a book under the canvas, then I placed a piece of wax paper over the vellum and put a couple of heavy books on top of that. I left it for a a while. Once that adhesive is dry, it's on there! **NOTE: always put wax paper or butcher paper between layers that are still wet from glue so that they don't bleed on each other or stick together!


I really love using vellum. Because it is translucent, you can still see the stenciled blooms behind it.


Next, I began to layer the pieces of the blooms together. Brenda sent such a variety that no bloom looks the same! I did stipple some ink onto the paper pieces and some onto the fabrics and felt to mute down the color to go with my vintage theme. Isn't that beautiful!

I cut a few extra blooms with another Sizzix die I had so that I could cover more of my surface and compliment the Brenda's big flower blooms. I altered some of the blooms with the ink and a textured stamp. I assembled the flower layers and pierced the centers with a paper piercer so that I easily slide in the brads.

I used Mod Podge for fabric and for paper to adhere the blooms to the canvas...then I let it dry completely.


Once everything was dry, I started to add some details by doodling some vines and leaves onto the canvas with the Visual Texture by Plaid. I just love that stuff! It adds a lot of dimension. I also added some extra details right onto the flowers!


I was really pleased with how my project came out this week. It is very me! I can't wait to see what everyone else has done...I am sure you feel the same. So, go ahead.....hop forward!

Artfully yours,
Theresa
Related Posts Plugin for WordPress, Blogger...