

Welcome back! We are now on Week 3 of Sizzix Triple Play Blog Hop. I had so much fun this week playing with the featured die...which was designed by Brenda Pinnick. So go grab a cup of java and settle in...I have lots of pictures this week!
Let's start with a list of supplies:
- Sizzix Original Die #655455 - Flower, Beauty Bloom by Brenda Pinnick
- Big Shot cutting machine
- Felt from National Non Woven
- Fabric - Couluer Vie by Brenda Pinnick for Henry Glass & Co.
- Off White cardstock
Other Supplies:
- 12x24 stretched cotton canvas
- Sizzix Sizzlets Die Set # 656539 3PK - Flower Layers #3
- Tim Holtz Distress Ink: antique linen, tea dye, vintage photo, walnut stain
- Stipple brushes
- Make-up sponges
- Small brads: pale yellow, bright yellow, antique brown
- Mod Podge: paper and fabric
- Paper piercing tool
- Folk Art High Definition Visual Texture by Plaid: sunflower, yellow ochre, forest moss, hauser green medium, thicket
- Textured stamp
- Vellum
- Bazzill papers
 I started with a blank canvas. It matters not what size you choose. I selected 12 x 24 because I wanted to have a lot of surface on which to add texture. I did not treat the canvas with Gesso or anything else. I left a completely bare surface.

Then using Tim Holtz's Distress Ink in my fav colors, some makeup sponges and stipple brushes I start to distress the surface of the canvas. I stippled and I sponged...and I even went direct to canvas with my pad. If you are not familiar with the process, you simply rub the surface of the ink pad directly onto the surface where you want the color. **IMPORTANT NOTE: Canvas is a textured surface...so be aware that the stamp pad surface can get a little bit chewed up. I have doubles of all my pads, so I have a set just for this purpose.**
When I distress anything I start with the lightest color and work to my darkest. I also start at the edges and work my way in towards the middle. I use my darkest colors towards the edges.

Brenda was very generous with the amount of blooms she supplied and so I took one of the paper bloom and used it as a stencil. I placed the bloom onto the canvas surface and then stippled some tea dye and vintage photo around the edges of the bloom. It created this effect:

Next, I printed out a poem that I really liked onto vellum. Now I realize the poem refers to daffodils...but I am taking artistic license here! I tore the edges and then I stippled on the BACK side of the vellum one of my lighter color inks, again working from the outside to inside. If you can see in the photo below...I didn't stipple the color over the entire piece of vellum. When you do this technique, the color should be darkest at the edge and gradually lightens as you work towards the middle. Then, I flipped the vellum back to the front and with the next shade darker ink...I stippled just the very edge of the vellum.
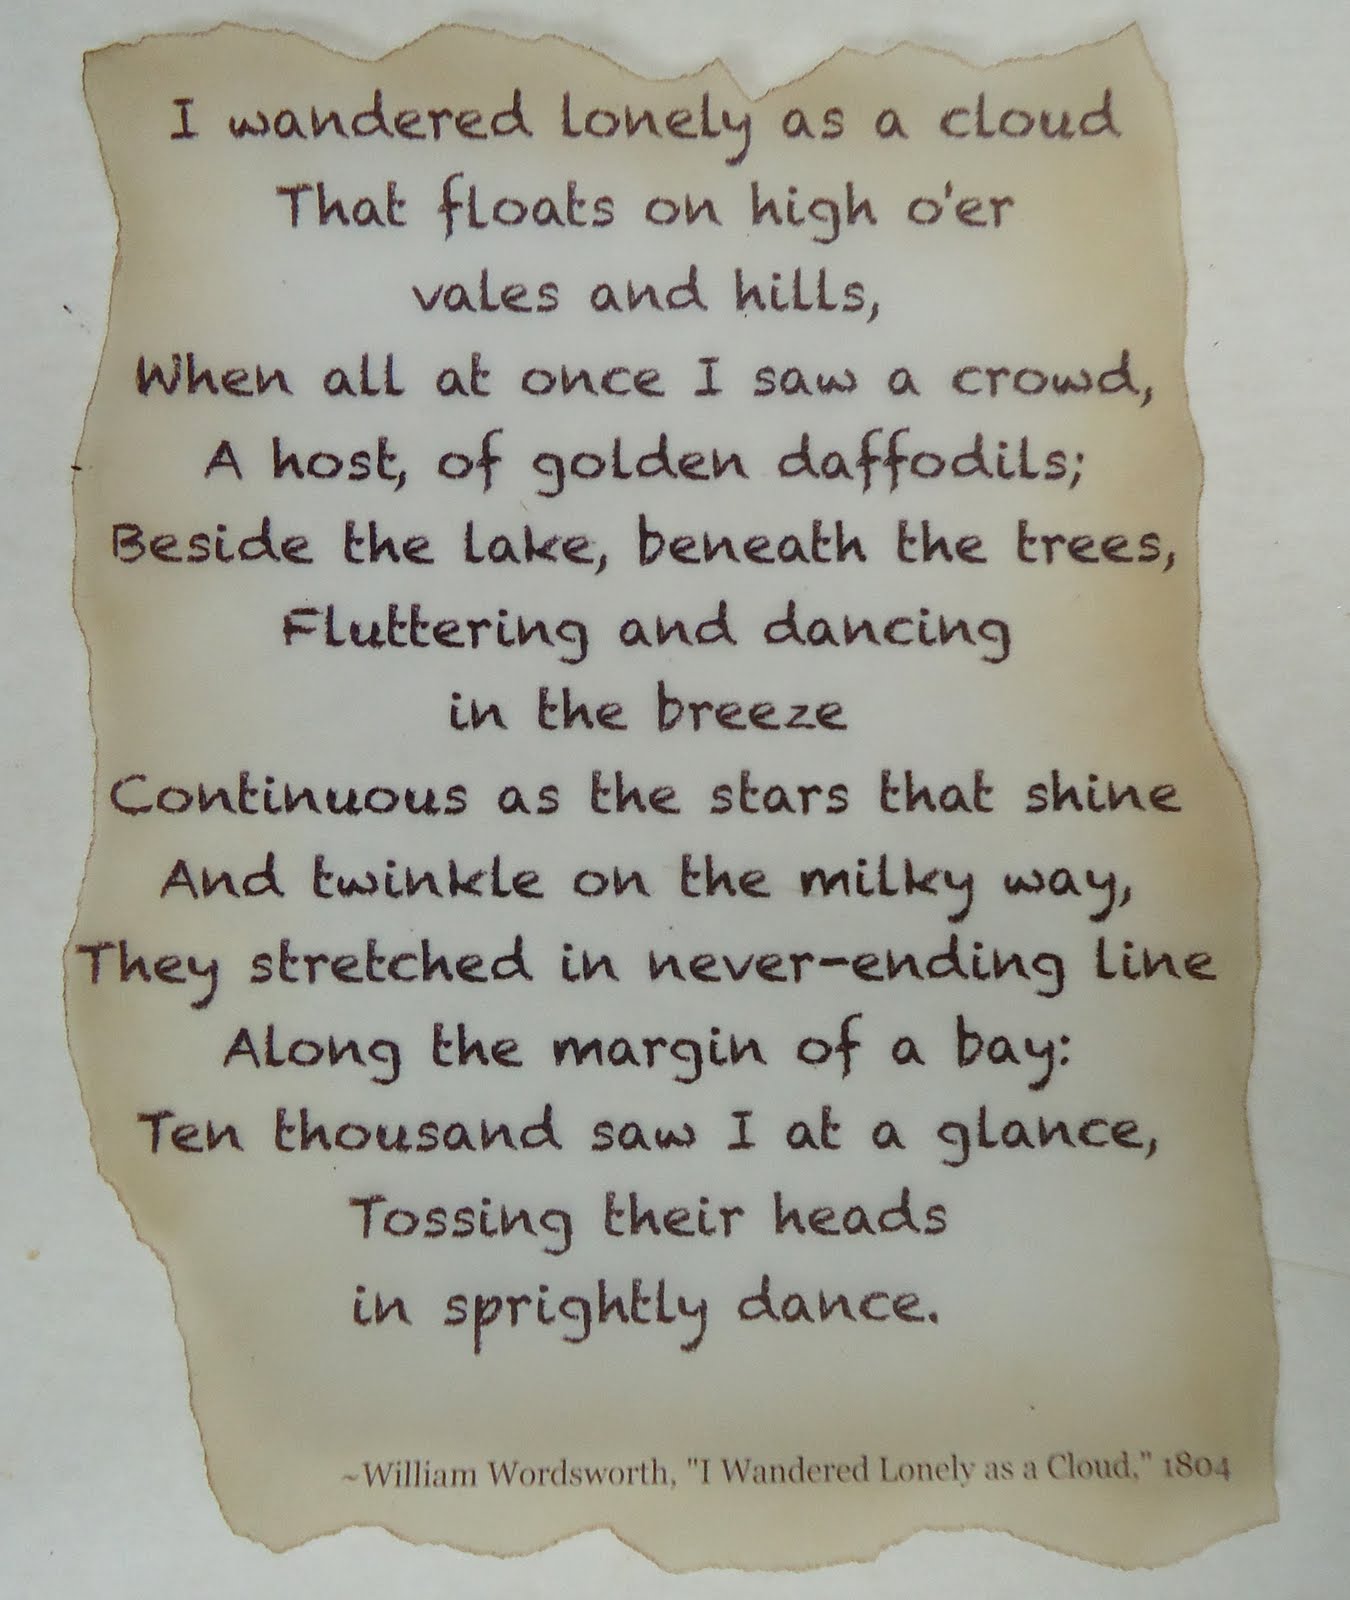
Using a very thin coat of Fabric Mod Podge, I adhered the vellum to the canvas. Now don't worry if the vellum resists sticking. What I did is put a book under the canvas, then I placed a piece of wax paper over the vellum and put a couple of heavy books on top of that. I left it for a a while. Once that adhesive is dry, it's on there! **NOTE: always put wax paper or butcher paper between layers that are still wet from glue so that they don't bleed on each other or stick together!

I really love using vellum. Because it is translucent, you can still see the stenciled blooms behind it.

Next, I began to layer the pieces of the blooms together. Brenda sent such a variety that no bloom looks the same! I did stipple some ink onto the paper pieces and some onto the fabrics and felt to mute down the color to go with my vintage theme. Isn't that beautiful!
I cut a few extra blooms with another Sizzix die I had so that I could cover more of my surface and compliment the Brenda's big flower blooms. I altered some of the blooms with the ink and a textured stamp. I assembled the flower layers and pierced the centers with a paper piercer so that I easily slide in the brads.
I used Mod Podge for fabric and for paper to adhere the blooms to the canvas...then I let it dry completely.


Once everything was dry, I started to add some details by doodling some vines and leaves onto the canvas with the Visual Texture by Plaid. I just love that stuff! It adds a lot of dimension. I also added some extra details right onto the flowers!

I was really pleased with how my project came out this week. It is very me! I can't wait to see what everyone else has done...I am sure you feel the same. So, go ahead.....hop forward!
Artfully yours,
Theresa


