Showing posts with label collage. Show all posts

Thursday, April 21, 2011

Making Your Own Background Paper Part 1: Using Rubber Stamps


Have you ever driven yourself near mad just trying to find the absolute right piece of patterned paper to go with your scrapbook layouts or handmade cards?  Let me share a secret with you....I am having a love affair with paper...especially patterned paper and handmade paper.  Believe me, I have A LOT of it!  However, from time to time I just can't find exactly what it is that I want in my stash nor do I have the time to run out and look for something at my local store.  So, out of the love of craftiness, I have started making my own papers to coordinate with whatever I am working on.  (yes, I have a HUGE stamp pad collection, too!)

The sample above is a piece of background paper I made using a few simple supplies.  You will need:
  • White or a fairly light colored piece of card stock or scrapbook paper
  • Permanent Ink (I like to use StazOn by Tsukineko)
  • Dye based ink (I like to use Tim Holtz's Distress Inks)
  • Stipple brushes
  • An assortment of rubber stamps


The first thing you will want to do is take your largest images and begin to stamp those randomly onto your solid colored piece of paper.  To make it interesting, stamp some of the images off the page.

**Something important to note....when using this technique, you want to make sure you are using PERMANENT ink.  If you try to use dye inks to stamp your background, they will smudge when you go to colorize it later.

Start with your largest stamps.

Next, stamp your medium and smaller stamps to fill in some of the white space.  Again, use a random pattern and stamp some of the images so they are "hanging" off the page.  Also, overlap your stamps.  It looks really cool!

Add your medium, then small stamps.
Next, use a filler stamp, like the checkered patterned stamp I used below, to fill in some of the wider areas of white space.  Overlapping images looks really cool, so don't be afraid of it.  Once you've done that, it should look something like this:

The checkered image here fills in some of the white space.
I think that looks pretty good, but there is still too much stark white space.  To deal with that, I used this textured stamp and stamped it all over the areas where there were white gaps.  This creates texture and makes the over all look much softer.

Create texture by randomly stamping this type of image over stark white areas of your paper.
If you don't have a textured stamp in your arsenal, that is just fine!  You can create texture in other ways.  You can "stamp" with the following:
  • a stipple brush and tap the bristles onto the paper 
  • a crumpled piece of wax paper or even tin foil
  • a piece of steel wool 
  • the scrubby side of a sponge
  • a sea sponge (which will be right by the sea shells in your local craft store) 

Once you have added the texture, your paper will look like this.  


I think this is really pretty.  In some circumstances I would leave it just like this, however, this paper was going to be used in a vintage style layout, so I added some color using Tim Holtz's Distressed Inks.  

Using my stipple brushes (ya know I can't help myself!), I stippled the lightest color first using a sweeping motion.  Then I highlighted specific areas with the middle color. Finally, I used the darkest color just at the edges of the paper for some contrast.

When I was done, it looked just like this:


I hope you are inspired to make some of your own background paper.  I have been doing this a lot lately and have more ideas to share.  So check back for part 2 very soon!

Just a heads up to you...soon I will be moving this blog to another space along with a new URL.  I will keep you posted.  I hope you will join me there.  I'm very excited about it.

Artfully yours....
Theresa

Saturday, January 15, 2011

Beeswax Shadowbox

Hello there blogospherians!

For those of you I haven't had the pleasure to "see" yet, HAPPY NEW YEAR!  Things were extra crazy here over the holidays...and then they kicked into high gear!  For those of you who do not know, I am a member of the designer section of the Craft and Hobby Association (known as CHA).  It is a fantastic organization...which is a post for another day...but the long and short of this story is that I have been very busy getting ready for our GINORMOUS winter trade show.  This winter we will be in LA.  I am looking forward to getting away from the outrageous winter weather to some that will be (at least to us north easterners) be warm!

So....I have been very busy preparing for all the show happenings...which is why I haven't been "here".  Over the next several weeks, you will be seeing and hearing a lot about my prep for the show as well as some really exclusive photos and such during the show.  So tune in!  There will be a lot to share....

Oh boy...I digressed very early in this post!  Now back to that Beeswax Shadowbox!  This past September, I had the extreme pleasure to assist Ana Araujo of When Creativity Knocks at Maker Faire in Queens, NY.  It was jam packed full of activity and very well attended.  

During that weekend, I had the great pleasure to tape my second episode for When Creativity Knocks and I guest appeared on a second episode.  If you are not familiar with WCK, I highly suggest you check it out.  Ana, her daughter and host, Megan and the WCK team go all over filming some of the most creative people around.  They have a very full taping schedule at CHA's winter show....so some really exciting things will be coming up!!  

Theresa and Ana taping at Maker Faire, NY
I have taped for WCK before....way back in July of 2008.  You can find that episode as well as many countless others in WCK's archive.  Ana and Megan don't discriminate when it comes to crafting...so whether your thing is painting, fabric crafts, scrapbooking, etc.....you'll find something!  

I keep my beeswax in a crock pot that I turn on when I need it!

One of the best things about taping outside is that you don't really feel like you're "in the spotlight"...even though you literally are!
 Ana is so easy to work with and makes everything more fun and exciting.  Scott, WCK's producer, is amazing behind the camera.  I'm really excited to see then all again in LA at the end of the month.

Some new news I can share with you now....
Once CHA is over, I will be contributing a monthly column to WCK's Creative Journal called The Designer Connection.  We are working out the details and I'm doing some diligent research in between making crafty messes!  More about that to come!

Keep checking back....the count down to CHA has officially begun!

Artfully yours,
Theresa

Friday, December 10, 2010

My Favorites Friday: Beeswax


Happy Friday everyone!  Today we're going to just get right into it.  Beeswax!  It is truly one of my favorite things.  I really like everything about it...it's warm, it's messy, it makes my studio smell fantastic and it's flexible!!  What do I mean by flexible?  Ah, that is just the beauty of beeswax.  We'll get to that in a minute.


Let's start with the wax itself.  Believe it or not, beeswax comes in two varieties...the natural kind and synthetic.  Synthetic beeswax isn't really beeswax even though you will find it listed that way.  It is a human made substance.  Probably the coolest thing about it, is that it comes in colors.  However, there are drawbacks to synthetic waxes. First of all, they are not as pliable as natural beeswax.  Secondly, there has been an ongoing debate as to how safe they are to use.  When the word "toxic" gets thrown around, I tend to steer clear.  Personally, I prefer natural beeswax and I stay away from synthetics.

You can find natural beeswax in a variety of states...like in a jar and the wax is in small little chips.  That's cute and all...and part of what you'll be paying for is the nice packaging...which you can always save and alter later!  I just run over to my local art supply or craft store (of course, you can buy online!) and I buy a gigantic hunk of it that comes in a plastic baggie.

Don't drive yourself nuts by trying to cut a small piece of beeswax!  You'll only strain your muscles and get frustrated.  The easiest thing to do is keep that block of wax in it's bag and chuck it in the freezer for about a half hour to an hour.  Here comes the fun part.....when you take it out, whack that puppy with a hammer and the wax will break apart easily.  Then you'll have smaller chunks.

Melting wax....there are several little melting pots out there.  They work wonderfully and are really great to have if you use them for other things besides wax.  Usually the trays that come with those are removable and you would, again, stick the tray in the freezer and the old wax will pop out once it's frozen.  The drawback of using those with beeswax is that they don't hold much wax.  I tend to work on large canvases when I'm using wax and I don't want to constantly have to add wax that I then have to wait to melt.  I use a small crock pot that I leave the wax in at all times.  It has a lid so my wax doesn't get dusty.  When I want to work with it, I simply take it out, plug it in and turn it on.  Then I gather the rest of my supplies while the wax melts.

IMPORTANT NOTE:  Once you use a household item (like a crock pot or a toaster oven) for craft or art materials (like clay or wax) you NEVER EVER want to use that appliance again for food!  

Getting back to what makes beeswax so flexible...in my collages, the beeswax acts as the adhesive.  This means that if I have placed an element somewhere and I change my mind about it's placement, I can simply reheat that area and lift the element out.

There are a few tools you'll need besides a vehicle to melt your wax.:

  • some kind of brush that you will dedicate to wax only.  I use that same brush each time I work with wax.  Once you put it in the hot wax, the bristles will loosen right up.  If you go the crock pot route for your wax, I suggest a long handled brush.
  • a heat tool!  wax sets quickly, so you'll want to have that tool handy.  it's also helpful for heating areas that you want to remove an element from, creating drips with crayons or blowing those crayon drips to make neat textural elements
  • a mini iron.  you'll need this to smooth areas out.  "But I don't wanna!", you may say....that's totally cool to leave a rustic, rough surface.  However, if you are going to put any photo images you'll want a smooth surface underneath it.
This is the basics of wax.  I really like using it so much better than glues sometimes, just because I have the ability to change things up if I don't like something.  There are several techniques for working with wax AND it will really hold just about anything.

Below are a couple of beeswax collages.  I hope you enjoy them.  Let me know if you give beeswax a try.  I would love to hear about it and see what you've made!


This collage incorporates dress pattern, a photo (which is printed
on copy paper), buttons and ribbon.  It also has crayon drips 
and smudges.


This collage incorporates an image transfer right onto
the wax.  It is super simple!

Artfully yours....
Theresa

Thursday, December 9, 2010

SIZZIX TRIPLE PLAY BLOG HOP WEEK 6: VERTICAL WALL HANGING


Here we are again! It's Week 6 of the Sizzix Triple Play Blog Hop!! I am sure you all share in my amazement that 6 weeks has flittered by so quickly. This week features a pretty spectacular die by Brenda Pinnick. Brenda, ever so generous sent over a whole mess of pieces for this project cut from paper, HER fabric, felt and this really awesome material that is really similar to burlap but with a cooler texture. I LOVE TEXTURE! I chose to stick with the material and save the paper til later. Here's what I got in my goody bag...

What was really interesting was that if you go to the Sizzix site you will see that this is intended to be an album. However, since Brenda send the positives and negatives for this die and there was so much of it, I decided to do some layering and make a cool wall hanging for my studio.

The products you will need from Sizzix to use Brenda's die are:
Paper, Mat Board or Fabric of your choosing

I have to share something right now. I think if there was going to be a secondary title for this Blog Post it would be....Confessions of a Sizzaholic! Yes, folks, I am officially hooked on these products and I've gone and bought the farm!

In creating this project, I chose to incorporate some other Sizzix dies to create the wall hanging. Now I know there are just some squares, but it was so much easier to cut them with the Sizzix dies...and, of course, the gigantic Westminster Edition of the Big Shot Pro. This is one sick machine, I tell ya! Isn't it a beauty?!?

Here are the other supplies used in this project:

Fabric
Pellon 911FF - Featherweight Fusible Web (1 sided)
Steam-a-Seam 2 - 1/2" two sided fusible web
Cord
Assorted Ribbon
Assorted Bazzill paper in coordinating colors
Low Temperature Glue Gun
Glue
Glitter
Japanese Screw Punch

Before I ran my fabric through the Big Shot Pro, I ironed on the Pellon fusible web. It is a pretty good stabilizer and makes it easier to cut the fabric. These machines are so great, I was able to run multiple layers of fabric and paper through them. What a time saver!

Once the stabilizer was attached, I ran the fabric through the machine and made my squares. Like this:

Next, I layered my fabric squares along with the pieces from Brenda's kit. I wanted each square to be different and just played until I found something that I liked. Like this:

Once I had 5 squared laid out the way I wanted them. I used the Steam-a-seam 2 between the layers and ironed them together so that they were adhered together.

Next, I laid the assembled squares out in an order that I liked.


One hole is already punched for you with this die, but I needed some extra holes to run my cord through. I punched an extra hole at the top and another at the bottom with my Japanese Screw Punch.

I ran my cord through, running it so that is mostly ran across the back of the square. I am not much for measuring (is that bad?). I am more of an "eye-baller", which is what I did to space these out appropriately.

I tied some little bows and with my hot glue gun, I glued them so that they sat just at the top of the square just covering the bottom hole. This served a couple of purposes. First, it kind of hid the hole. Second, because the glue covered part of the cord, it helped keep the square in place. For good measure, I flipped the squares over and ran a line of hot glue under the cording in the back as well.

I tied a knot in both ends of the cord so that it wouldn't unravel and a simple loop in the top. While I loved the color scheme and the texture of the fabrics, it needed a little something more, so I took some card stock in shades that complimented the colors I was already using and began to cut some flowers with my Big Shot. I cut so many flowers, I'm set for spring!

I then took half my stash and glued and glittered them up just because...honestly...who couldn't use a little sparkle? I assembled the flowers with double stick adhesive, but I glued the bottom layer to the fabric squares with hot glue.

Here are close ups of the squares. I really hope you enjoy!


That's it for this week. It's almost sad...because this means that there is only ONE week left to this blog hop. I am really grateful for this opportunity. It's been a blast!

Gotta hop.....

Theresa

Monday, November 22, 2010

My Favorites Friday: ATCs


Happy Friday! I hope this post finds everyone well and gearing up for a fun and exciting weekend. The weekends always seem to fly by so fast. This week I want to share with you one of my favorite art forms...Artist Trading Cards or more affectionately known as ATCs.


What is an ATC? An Artist Trading Card is similar to Baseball Cards. ATCs are miniature works of art. There is really only one strict rule to creating an ATC...size! All ATCs measure 2.5" x 3.5" in size. After that, you are only limited to your imagination.

The ATC above was created using scrap book paper, dye ink, rubber stamps and a miniature tag. It is a mini collage that incorporates several elements. It has many layers which gives it a texture. You can be as simple or elaborate as you wish.


You can purchase blank ATCs just about anywhere. Dick Blick is a very popular site for purchasing such materials. However, you can use simple playing cards or you can cut your own. I like to use card stock or old post cards...as is used in the sample above. I have even created them out of fabric, but I usually use some type of one sided fusible interfacing to give them a little more stability.


On this ATC I punched the image into the top layer of paper. I used gold pigment ink around the edges and image to make them stand out.


This ATC incorporates a decorative brad and a slide. I don't generally worry about things sticking off the edge of the card. I trim them later by turning the card over and trimming off the excess with an Xacto knife.

What do you do with an ATC? That's simple! You trade them, of course!! There are all sorts of swap groups out there. As a matter of fact, if you belong to any of the groups that are out there you should check to see if there are any for Artist Trading Cards. I bet they do! There is a really cool site called ATCsforAll that has been around for quite a while. They are constantly running swaps. You should really check out all the swaps they ran so far this year! These guys are obviously passionate about ATCs!!

If your interest is piqued...here is another fantastic site with some outstanding eye candy: Art-e-zine Trading Card Swap. This takes place in the UK...which just goes to show you...ATCs are global!

I hope you enjoyed this little preview on Artist Trading Cards. Whether you create these precious gems already or are going to give it a try...feel free to share! I'd love to see what you are creating. Plus, if I get enough feedback, I'd love to post some pictures of other artists' cards.

Artfully yours,
Theresa

Wednesday, November 17, 2010

SIZZIX TRIPLE PLAY BLOG HOP WEEK 3: MY VINTAGE GARDEN


Welcome back! We are now on Week 3 of Sizzix Triple Play Blog Hop. I had so much fun this week playing with the featured die...which was designed by Brenda Pinnick. So go grab a cup of java and settle in...I have lots of pictures this week!

Let's start with a list of supplies:

Other Supplies:
  • 12x24 stretched cotton canvas
  • Sizzix Sizzlets Die Set # 656539 3PK - Flower Layers #3
  • Tim Holtz Distress Ink: antique linen, tea dye, vintage photo, walnut stain
  • Stipple brushes
  • Make-up sponges
  • Small brads: pale yellow, bright yellow, antique brown
  • Mod Podge: paper and fabric
  • Paper piercing tool
  • Folk Art High Definition Visual Texture by Plaid: sunflower, yellow ochre, forest moss, hauser green medium, thicket
  • Textured stamp
  • Vellum
  • Bazzill papers

I started with a blank canvas. It matters not what size you choose. I selected 12 x 24 because I wanted to have a lot of surface on which to add texture. I did not treat the canvas with Gesso or anything else. I left a completely bare surface.


Then using Tim Holtz's Distress Ink in my fav colors, some makeup sponges and stipple brushes I start to distress the surface of the canvas. I stippled and I sponged...and I even went direct to canvas with my pad. If you are not familiar with the process, you simply rub the surface of the ink pad directly onto the surface where you want the color. **IMPORTANT NOTE: Canvas is a textured surface...so be aware that the stamp pad surface can get a little bit chewed up. I have doubles of all my pads, so I have a set just for this purpose.**

When I distress anything I start with the lightest color and work to my darkest. I also start at the edges and work my way in towards the middle. I use my darkest colors towards the edges.


Brenda was very generous with the amount of blooms she supplied and so I took one of the paper bloom and used it as a stencil. I placed the bloom onto the canvas surface and then stippled some tea dye and vintage photo around the edges of the bloom. It created this effect:


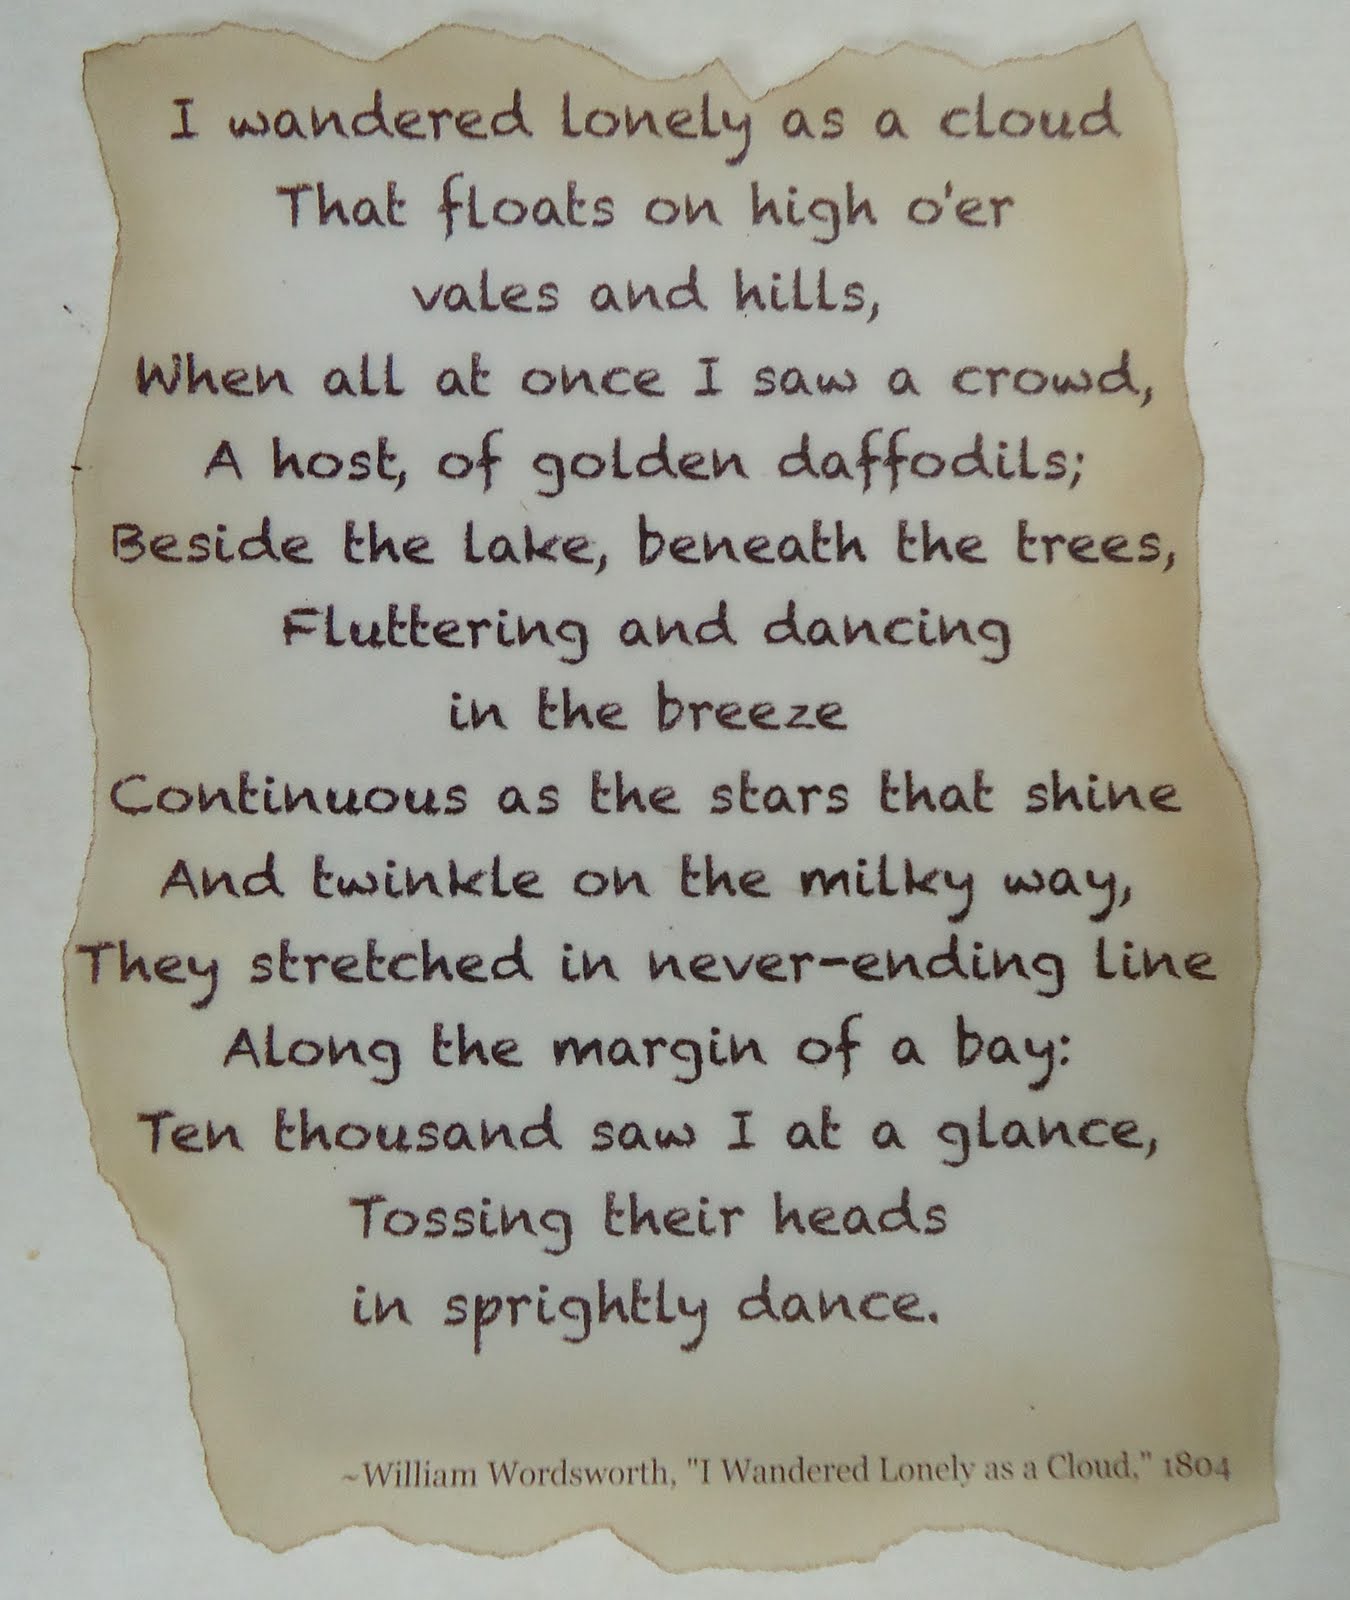
Next, I printed out a poem that I really liked onto vellum. Now I realize the poem refers to daffodils...but I am taking artistic license here! I tore the edges and then I stippled on the BACK side of the vellum one of my lighter color inks, again working from the outside to inside. If you can see in the photo below...I didn't stipple the color over the entire piece of vellum. When you do this technique, the color should be darkest at the edge and gradually lightens as you work towards the middle. Then, I flipped the vellum back to the front and with the next shade darker ink...I stippled just the very edge of the vellum.


Using a very thin coat of Fabric Mod Podge, I adhered the vellum to the canvas. Now don't worry if the vellum resists sticking. What I did is put a book under the canvas, then I placed a piece of wax paper over the vellum and put a couple of heavy books on top of that. I left it for a a while. Once that adhesive is dry, it's on there! **NOTE: always put wax paper or butcher paper between layers that are still wet from glue so that they don't bleed on each other or stick together!


I really love using vellum. Because it is translucent, you can still see the stenciled blooms behind it.


Next, I began to layer the pieces of the blooms together. Brenda sent such a variety that no bloom looks the same! I did stipple some ink onto the paper pieces and some onto the fabrics and felt to mute down the color to go with my vintage theme. Isn't that beautiful!

I cut a few extra blooms with another Sizzix die I had so that I could cover more of my surface and compliment the Brenda's big flower blooms. I altered some of the blooms with the ink and a textured stamp. I assembled the flower layers and pierced the centers with a paper piercer so that I easily slide in the brads.

I used Mod Podge for fabric and for paper to adhere the blooms to the canvas...then I let it dry completely.


Once everything was dry, I started to add some details by doodling some vines and leaves onto the canvas with the Visual Texture by Plaid. I just love that stuff! It adds a lot of dimension. I also added some extra details right onto the flowers!


I was really pleased with how my project came out this week. It is very me! I can't wait to see what everyone else has done...I am sure you feel the same. So, go ahead.....hop forward!

Artfully yours,
Theresa

Sunday, October 17, 2010

A Meaningful Quote...


Hi and welcome back!

Years ago, I came across a quote on a rubber stamp. That quote read: "What would you attempt to do if you knew you would not fail?" It really had a profound effect on me both personally and professionally. Back then, I was just starting to define who I am as an artist and designer. I thought, back then, I knew the direction in which I wanted to head. Along the way, I got lots of advice...both good and bad, as well as a lot of encouragement and discouragement! It left me, shall we say, very tentative at best.

As many of us creatives do...I talked myself into and out of things during my journey. As I "grew up" and did some serious self discovery, I began to trust my own instincts and decisions. I was able to get a better grasp on what it meant for me to be successful in all aspects of my life. I found it easier to take a negative and make it into a positive...which brings me back to that stamp!

Now, as I have mentioned, there was just something about the quote on that stamp that had a grip on me. Once in a while, I would pull it out of it's home in my studio and leave it out on my work table and wonder what...though I loved it...bothered me so. I mean, if you read it, it seems like such a positive message! Yet, in all the years I had it, I believe I only used it ONE time!

Jump forward a couple of years, here I am in my new studio! One of the best things about having to move all my supplies out of my studio was that I got to go through everything I owned...and I found things that I'd forgotten I'd had...or thought I'd lost! LOL One of those things was that darn stamp again! During the move, I saw that stamp and I copied that quote at the top of my massive "to do" list. Every time I opened my notebook to that list, I would read that quote and something about it just felt wrong.

It wasn't until I'd been in my studio a couple of months that it hit me. I remember thinking I was brave in my decision to move into an independent place. I remember being proud of having set goals that were realistic and attainable. I remember thinking that I was not afraid of the hard work it would take to achieve those goals...one of which was to start teaching classes at my studio. And there I was, looking at that quote again..."What would you attempt to do if you knew you would not fail?"...thinking, wasn't I attempting something BIG!? I wasn't letting fear control my choices! So what was the problem with those few words?

It took a little more time before I could hear the answer clearly. It was in the middle of the night...as is typical with me. I woke myself up and grabbed the book I'd been making notes in and rewrote the quote to say..."What would you attempt to do if you knew you would succeed?"...and went back to sleep. The next morning when I reread what I'd written, it made sense. It was the word "fail". What a negative word. It sure didn't fit into my place of positivity! I knew that this newly worded quote would become my mantra as I build my empire...however large or small I decide it to be. Soon after, I began creating this textured collage which now hangs proudly in my studio...so I don't forget. EVER!

This weekend, I am holding my first Open House at my studio. I am introducing my roster of classes, doing make & takes, giving gifts and holding a raffle of really terrific Plaid products...basically just having a grand celebration to let the community know I'm here! In the spirit of Field of Dreams...."if you build it, they will come"...I am here to share my love of art with anyone who cares to join me in this journey. I'm just beginning....again!

Artfully yours always....
Theresa

Related Posts Plugin for WordPress, Blogger...