Showing posts with label Adirondack Colorwash. Show all posts

Tuesday, December 21, 2010

Tips, Tools and Techniques Tuesday!


Merry Christmas everyone!  It's hard to believe that the holidays are here already AND in a little over a week this whole year will be over.  This has been a wonderful year for me professionally and I am very grateful.

This week I am going to show you a fun and easy staining technique with Tim Holtz's Adirondack Color Wash.  It is a great method for making background papers.  


There are a lot of fun uses for the Color Wash inks.  Today I am just going to show you one of those.  You will need a few things to do this process yourself.  Those supplies are:
  1. Tim Holtz's Adirondack Color Wash
  2. Water color paper
  3. Freezer paper or another non porous work surface
  4. Paper Towels
  5. Windex


Tim Holtz's Adriondack Color Wash

Since this technique involves introducing a lot of moisture to paper you are going to want to choose a paper that can stand up to that.  I like to use watercolor paper.  I used these small post card size that I will later stamp on and layer onto the front of a card.

Before I get started, I cover my work surface with freezer paper, which you can find right in the grocery store.  You'll want to make sure that you have the shiny side up as that will be your palette.  It is the perfect palette because when you are done with your first set of color, you can just wipe it right up and start all over.

After you've covered your surface, choose between 2 and 3 colors to create your design.  Spray them right onto the freezer paper.
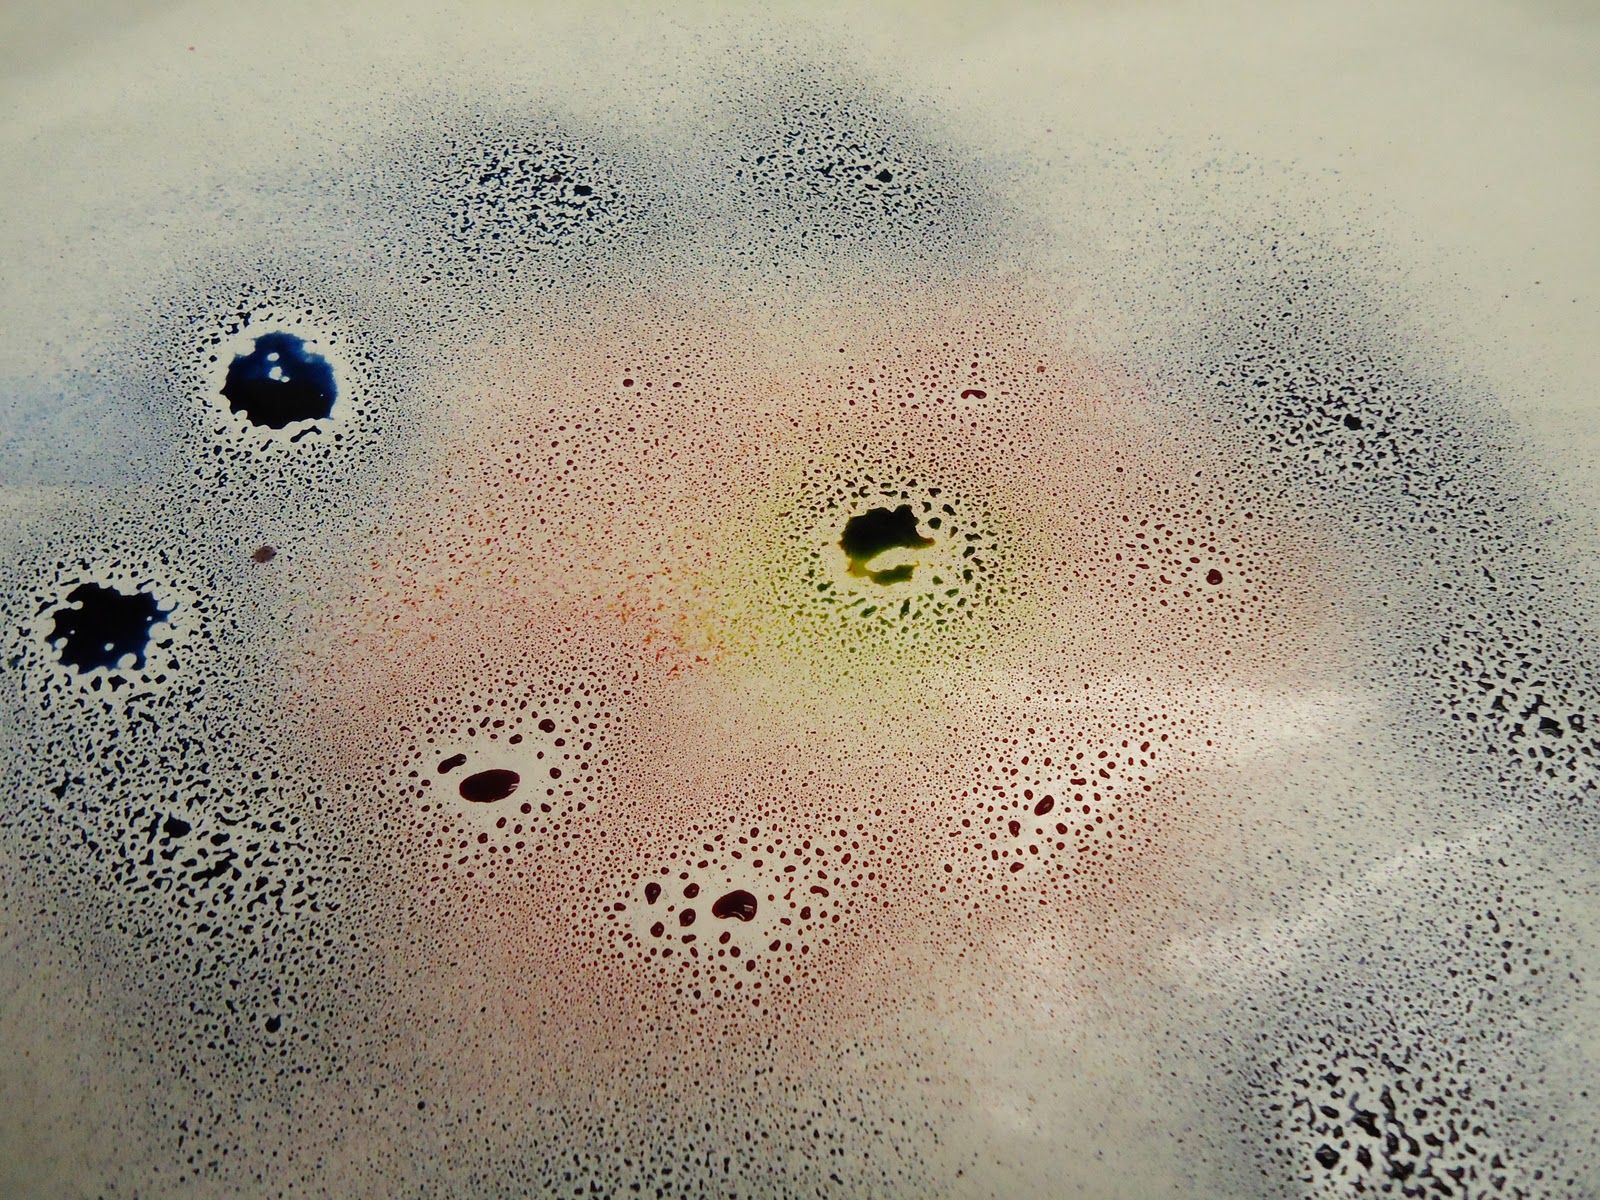


I tried this technique with water and it will work.  However, I discovered that the colors really pop if you spray some Windex onto it.  Then it looks like this...


Then you take your paper and press it down into the mixture.  Tap the paper to make sure that the whole surface gets covered.  Don't worry...the curling that occurs is normal.   It will straighten out some as it dries and then pressing it under some heavy books will take it the rest of the way.


Pull it up and lay it into a clean area of your palette.  It is going to drip, so be careful.


Take some paper towel and blot!  Don't rub, just blot it to get the excess water off.


You can get some really pretty marbling using this technique.  And, come on, messy is fun!

I am going to try to post one more time before the weekend...but if not.  Have a happy and healthy holiday!!

Artfully yours,
Theresa


Thursday, December 16, 2010

SIZZIX TRIPLE PLAY BLOG HOP WEEK 7: MOLLY'S TRAVEL BAG


Welcome to the 7th and, sadly, the LAST installment of Sizzix Triple Play Blog Hop.  Well, at least for now.  This has been a wonderful and fulfilling experience for me personally.  I looked forward to the challenge every week, it stretched me as an artist and I had the great fortune to be linked to many of the talented designers in our industry.  I want to take a minute here to personally thank Sizzix, Eileen Hull, Brenda Pinnick and Karen Burniston for allowing me to be a part of this Hop!  Considering the size of this blog hop...it took a lot of behind the scene prep and also cost!  So, thank you times ten!

Out of this experience is born some other great experiences.  I can't get into all of it right now, but keep checking back.  When it happens you will know!!

Now onto this week's project...

This week's project features Eileen Hull's Treat Bag Toppers die.  Several elements came in my kit.  The die itself features 3 separate toppers, but one in particular stood out to me because it looked like a purse handle.  Then the size of it made me think that'd it be perfect for a doll...which made me think "American Girl"!  So, I chose to make a travel bag for Molly from Americal Girl.

Here is what you need from Sizzix:
Sizzix Scoreboards XL Die #656774 - Treat Bag Toppers
Sizzix Big Shot
Sizzix Accessory - Cutting Pad, Extended 1 Pair 
Sizzix Little Sizzles - 6" x 13" Mat Board Pack, 6 White Sheets

And you will also need:
Fabric of your choice
Batting
Needle and Thread
Steam-a-Seam 2 fusible web
Iron
Scissors
Ranger Adirondack Colorwash, Espresso
Ranger Adirondack Dye Ink Pads, Espresso & Ginger
Stipple Brushes
Mod Podge - Glossy AND Fabric
Foam Brushes
Paper Towel

If you click the link above for the Treat Bag Toppers die, to the left of the picture you will see a link that says "line".  When you click that link, you'll see how all the elements are laid out on the die...which is very cooly btw!  You will see there are 3 toppers and several other elements for embellishing.  Out of all of those, as I was saying earlier, I was inspired by the one that looked like a purse handle...almost kind of like a carpet bag.  I also had some fabric that I liked.


I am not much of a sewer...and I am still just learning how to use my machine....whiiiiiiiich.......I left in the box for this project.  Since the purse is doll size, I figured by time I make a bobbin and thread my machine, I could just hand sew it.  I sewed it inside out and just up the sides.  It looks like a kid did it, but I tried my hardest.  :)


And at least it looks a lot better once you turn it right side out!  Whew!  I then filled the purse with some batting to puff it out so it would look full.  I cheated and used fusible web to seat the top.


The fun part of any art project for me is always the MESS!  Making sure to put the fabric purse part away.  Otherwise I inevitably get it dirty.  I wanted to make the topper look like wood and after playing with a few techniques on the mat board, I decided to go with Adirondack Colorwash in Espresso.  


At the moment, the drafting table in my studio is covered in freezer paper...glossy side up.  It happens to make a nice palette and was convenient for what I did.  The Colorwash comes in a spray bottle, so I just spritzed some onto the freezer paper.  I dampened a foam brush and just picked up the Colorwash from the paper and brushed it onto the mat topper.  I made several passes at this wiping with paper towel after each application until I had a shade I liked.  Here is a closer look at the result:


I let that dry for a couple of hours.  Then I brushed a thick coat of Glossy Mod Podge over the entire element and let it dry thoroughly.  After separating the hearts, I brushed on Ginger dye ink on the outside heart and Espresso dye ink on the inside heart.  I then put them back together and also brushed those with Glossy Mod Podge.

Once the handle was good and dry, I used Fabric Mod Podge to adhere it to the bottom part of the bag.


Next, I glued the heart elements to the front plate of the bag handle.


And now Molly has a new travel bag!


While I'm sad that the Sizzix Triple Play Blog Hop has come to and end...for now...I'm still looking forward to bringing you some really great projects that you can try at home.  It has been my sincere pleasure to showcase some of the fantastic dies that Sizzix has to offer.

Artfully yours,
Theresa
Related Posts Plugin for WordPress, Blogger...