

Hello again! Welcome to Week 2 of the Sizzix Triple Play Blog Hop! This week features Karen Burniston's Twist Cube Die. Lemme tell ya...it is a really fun die to play with because it is interactive. When using the die as originally instructed, it twists and pops up. Very cool effect. I, however, decided to do a little something different with it. Hope you like!
The materials you will first need to get started are:
#656739 Sizzix Bigz XL Die - Cube, Twist, 3-D by Karen Burniston
Sizzix Big Shot cutting machine
Sizzix Accessory - cutting pad, extended
Sizzix Accessory - premium crease pad, extended
Here are some other materials that I used:
ATG Tape Runner
Paper Trimmer
Xacto knife and mat
Family Treasure's Scalloped edged scissors
1/16th" hole punch
PPA
Golden's Fluid Matte Medium
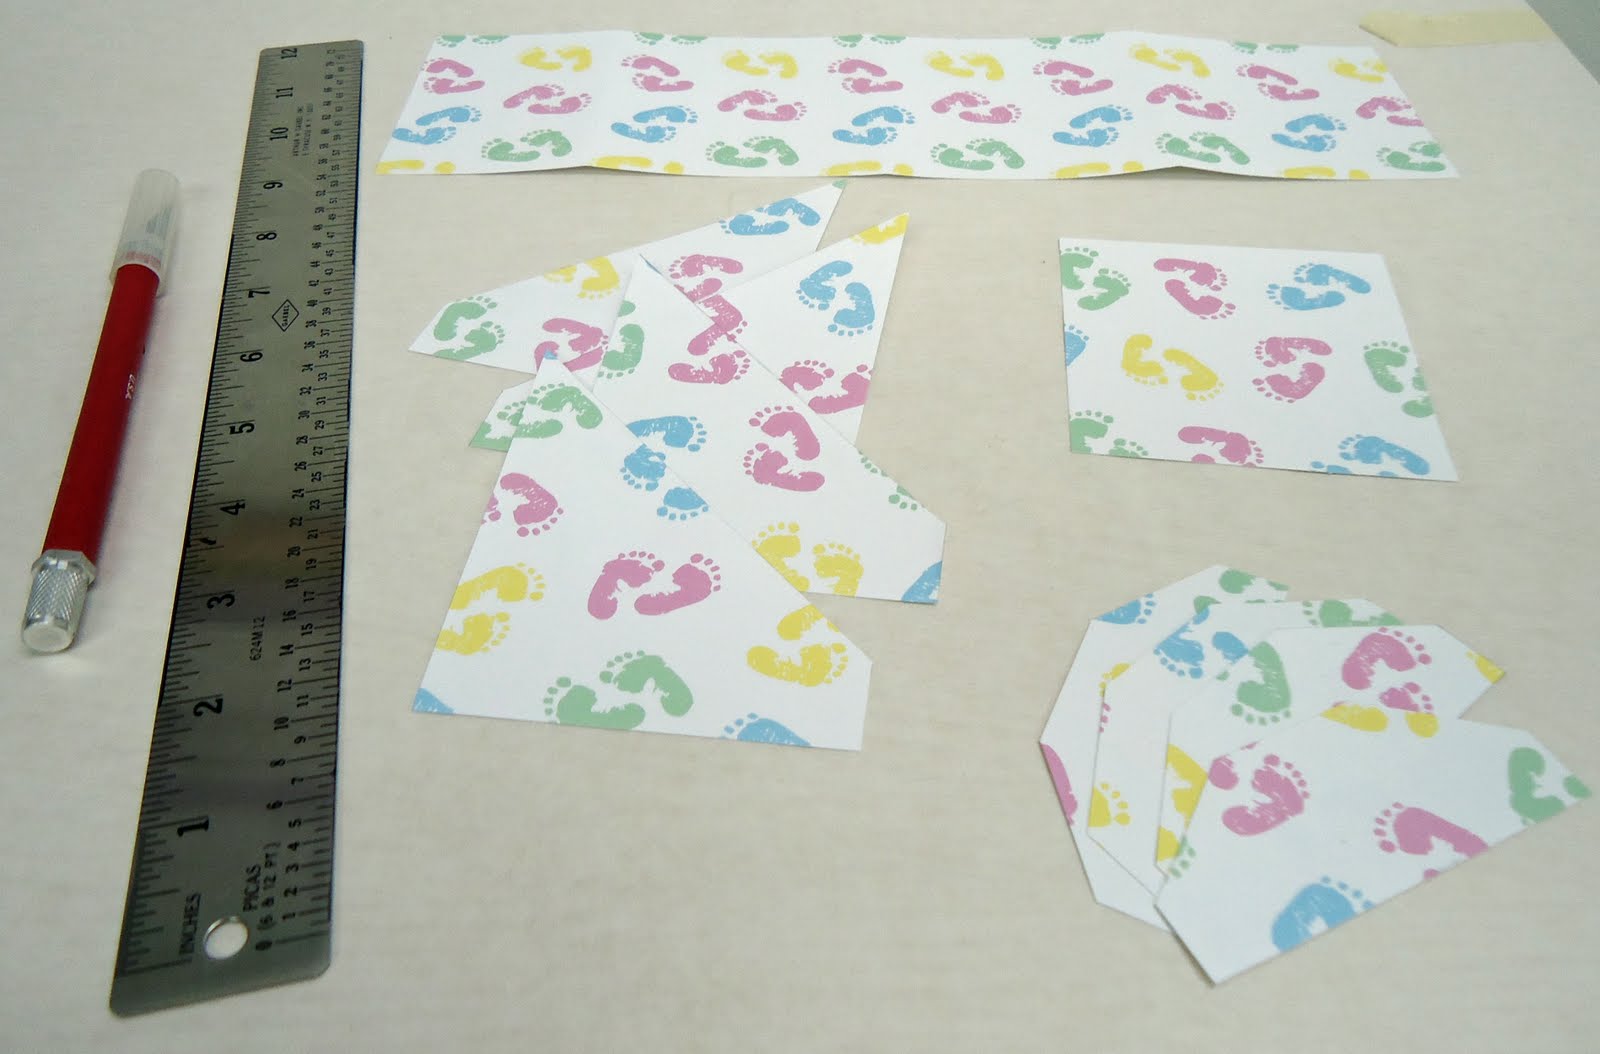
Baby Feet paper, Stemma
Pastel colored card stock, Bazzill
Pale green satin ribbon - 1/8"
Yellow organza ribbon - 3/4"
Plaid's Folk Art Paint in light blue, jamaican sea, lemonade and baby pink
Doodlebug Design Sugar Coating lily white glitter
Stickles
Tissue paper
Candy

Karen and the lovely staff at Sizzix were kind enough to send me a nice neutral color...black. The first thing I did was assemble the box. I am going to be very honest here! I had no idea what I was going to do with it after I'd assembled it. I only knew that I wasn't going to make it pop up. Don't take that the wrong way though. It wasn't that I couldn't think of what to use it for...quite to the contrary! Did I want to make a photo box? Or an ornament? Maybe a bat...because that is what those top pieces remind me of? Get the idea?
As I was looking at it I thought, "that would make a great alphabet block!" However, having only one to play around with....and of course, I'd gone and assembled it already...it occurred to me how cute it would be as a baby block that one could use for a baby shower favor!
So, I worked a little bit backwards. If I hadn't put the cube together first, I probably would have covered the individual pieces with paper first. Since I didn't do that, I had to work a little bit backwards. Now a note to all....if you are going to use your diecut as a pop up, will want to do your assembly with really super strong glue! As I knew my box would be stationary, I used my ATG tape runner to put the actual box together.

I covered the top tabs first. I used PPA to apply the paper to the cube. I have found that once the glue dries, it adds a little stability.

Then I covered the sides also using PPA. I didn't cover the bottom, but of course, if you'd like to on yours that's just fine! I also chose to cut away the part of the tab that looks like a wing.

Next, I used 1/8" pale green ribbon to finish off the top edges of the box. It hid any black sticking out and gave it a cleaner look.

I used my pastel colored solid papers to adhere to the sides of the cube. The first layer I cut 3"x3" and taped them to the sides of the box. I cut another set the same size and trimmed the edges with my Scalloped edged scissor. How did I get that so straight? You can take a look at the technique I used at this past Tuesday's Tips, Tools & Techniques post. I layered the scalloped pieces on top of each square. Plus I made sure to have a different color combination on each side.

I love Stickles! It is glittery and sparkly without the mess. Not that I mind mess, of course, but it is fun and easy and quick to use. Here I applied a little dot of Stickles in the center of each scallop.

Don't those Stickle dots look great? Now my favorite part of the cube is the letters. I used chip board letters that spelled out B A B Y. I painted each letter a different color with acrylic paint and let them dry really well. Then I applied a thin coat of Golden's Fluid Matte Medium to the front of the letters and then dipped those into that Lily White Glitter. It is a super fine glitter and the paint color shows right through it. Love it! Then I glued one letter to the center of each paper panel.

Finally, I punched two tiny holes using my 1/16th" hole punch into the tip of the triangular side tabs. I threaded the organza ribbon through each side and tied a simple knot. The hole is so tiny that the big knot I made will not go through it. Plus the layers of paper, glue and the ribbon lining should keep anything from ripping. I mean, I wouldn't load this thing up with change...but for it's intended purpose here, it is perfect.


I threw in some tissue paper in baby colors to bring it all together. Then I filled my baby favor up with candy. Hmmm...I think I am detecting a theme. I dunno, maybe I'm always hungry when I'm working on these types of projects!

I hope you enjoyed this week's project. I really think it looks so sweet.
Artfully yours,
Theresa
Wow! Theresa, this is really clever! I love the layered sereneness of it, too. So soft and baby-like. That four-part triangle top is pure genius. I really looks like the goodies have exploded out of the box. Thank you for using my die in such a unique way!
ReplyDeletereally cute! I love the handle idea! It's nice to see this die created in so many diff rent ways. :)
ReplyDeleteSo pretty!!!!
ReplyDeleteHow adoable! Great for a baby shower.
ReplyDeleteSo very cute and such a clever idea!
ReplyDeleteNice idea.
ReplyDeletevery cute!
ReplyDeleteSweet idea! Like your alternative route to using the cube!
ReplyDeleteVery nicely done.
This is darling!
ReplyDeleteLove the scalloped edges and the sparkles! Very pretty and of course I love the baby shower idea. (and the chocolate!)
ReplyDeleteI love this, and since I am expecting two new grandbabies early next year I thought this was fantastic!
ReplyDeleteCute baby gift box!!!
ReplyDeleteWhat a cute baby gift! Love it!
ReplyDeleteWhat a cute idea turning into a box from the twist cube. :-)
ReplyDeleteCuter than cute!
ReplyDeleteI love what you did here. It looks like you really enjoyed making this. I am enjoying your idea
ReplyDeleteLoving your how-to b/c this cube is intimidating. Mahalo
ReplyDelete